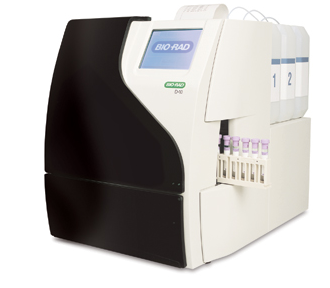
Beckman Coulter AU480

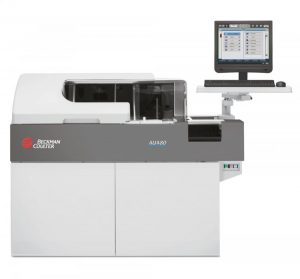
The AU480 chemistry analyzer is the ideal primary chemistry analyzer for low- to mid-volume hospitals and laboratories, or dedicated specialty chemistry or STAT analyzer for larger laboratories. With a throughput of up to 400 photometric tests per hour (up to 800 with ISEs), increased onboard testing, reduced sample volume, and easy operation, the AU480 delivers efficiency for laboratories around the world.
Copy Files
- There are 3 files need to be copied and replace.
- License File
- SMC Files
- Plugin Files
- Firstly, stop all these services.
- Server Console (only when updating sys-services-config.properties file)
- Paste the created license into 5 different folder
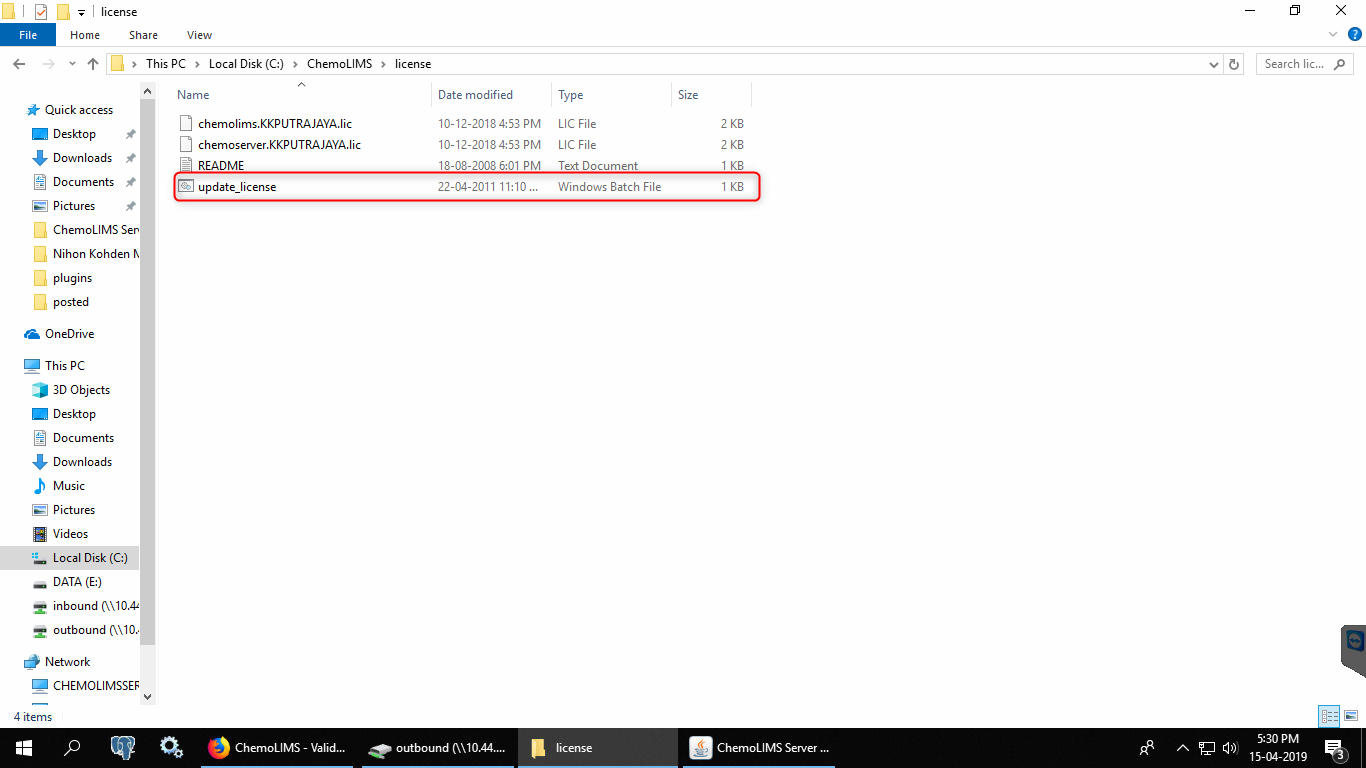
- My Computer > C: > Chemolims > License
- My Computer > C: > Chemolims > server > minimal > license
- My Computer > C: > Chemolims > console > license
- My Computer > C: > Windows > Syswow64 > license
- My Computer > C: > Windows > System32 > license
- Go to My Computer > C: > Chemolims > License and double click on update_license.
- Next, open Chemolims > console > bin > plugins
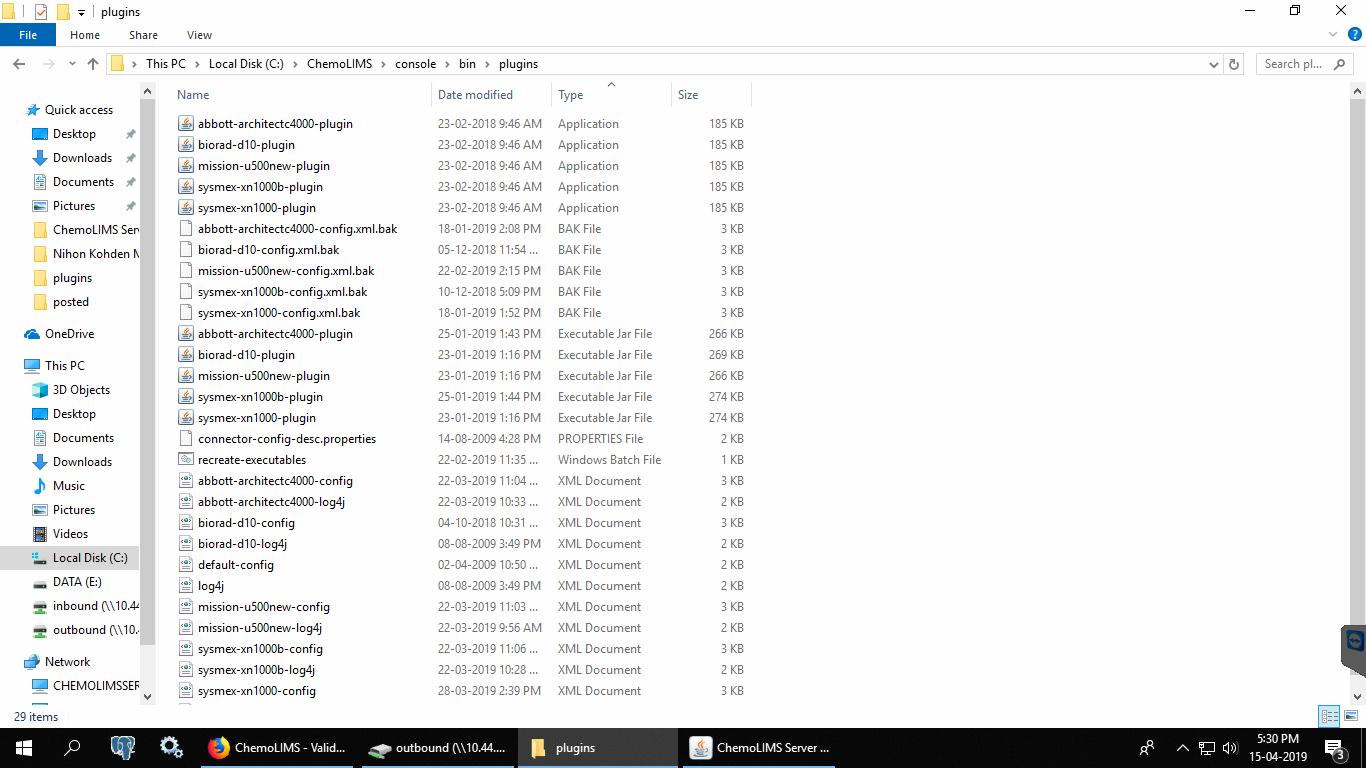
- Replace .jar files for the old connector
- Paste .jar file for the new connector
- Copy the existing .config and .log4j files inside C:/ChemoLIMS/console/bin/plugins
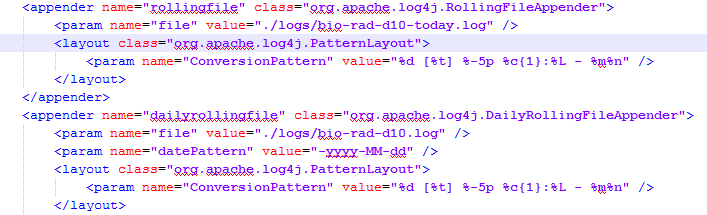
- Then, right click on bio-rad-d10-config and select edit with notepad ++.
- Make sure to change from bio-rad-d10 to olympus -au480 and then Save.

- Then, right click on bio-rad-d10-logj4 and select edit with notepad++.
- Make sure to change from bio-rad-d10 to olympus -au480 and then Save.
- Then, right click on recreate_executable and select edit with notepad++
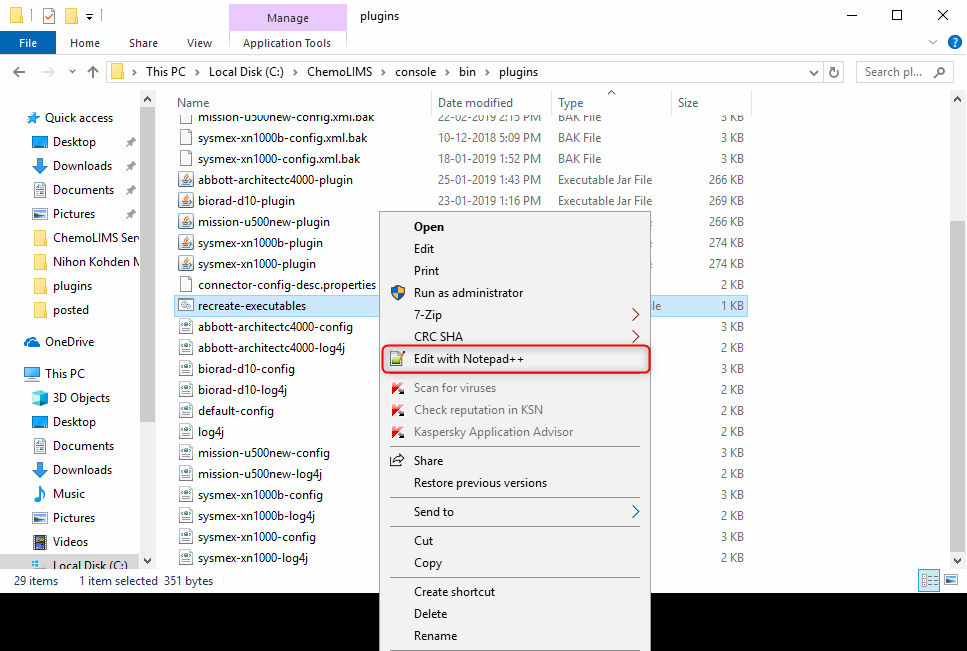
- Add the new connector olympus -au480-plugin .exe file name and save. (Remark: Analyzer name should be exactly the same with the name inside the excel file)
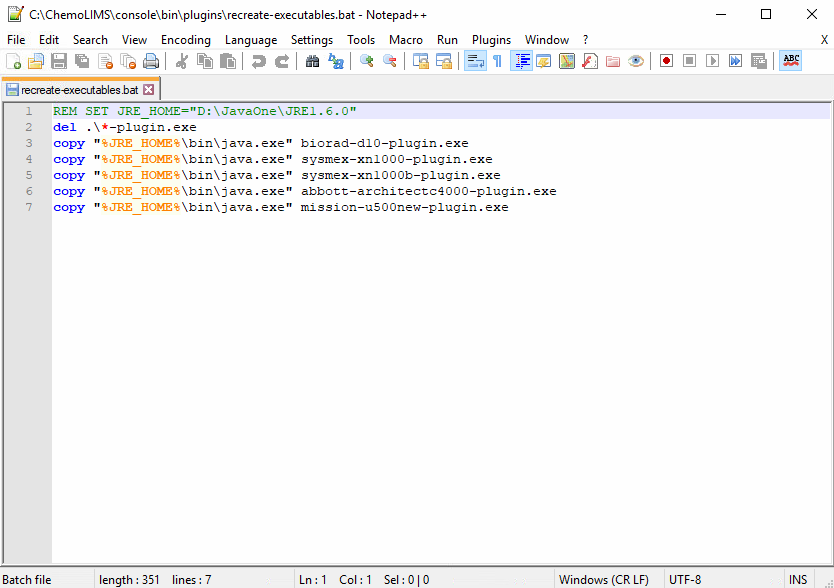
- Then double click on the recreate_executable.
- There should have 4 files for instrument
- .exe
- .jar
- .log4j
- config
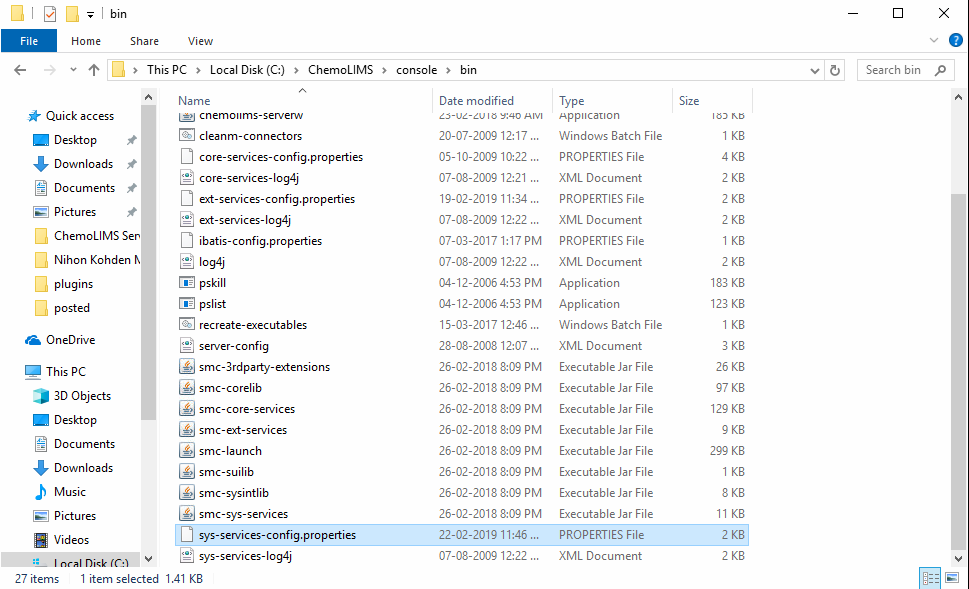
- Then copy 8 SMC files from Google Drive and paste inside C: > Chemolims > console > bin
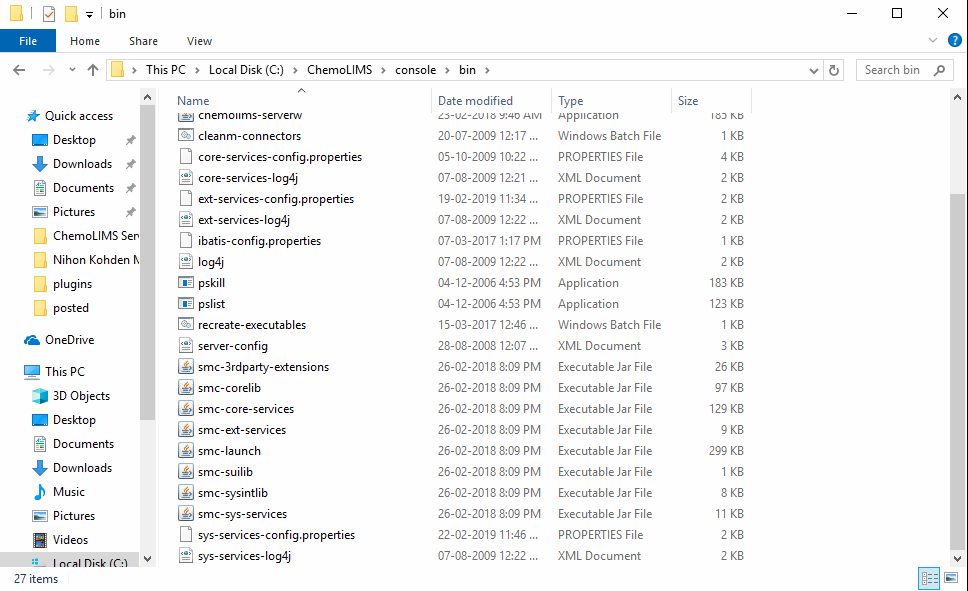
- Then right-click on sys-services-config.properties and select edit with notepad ++
- Add Olympus AU480 and then save. (Remark: Analyzer name should be exactly the same with the name inside the excel file)
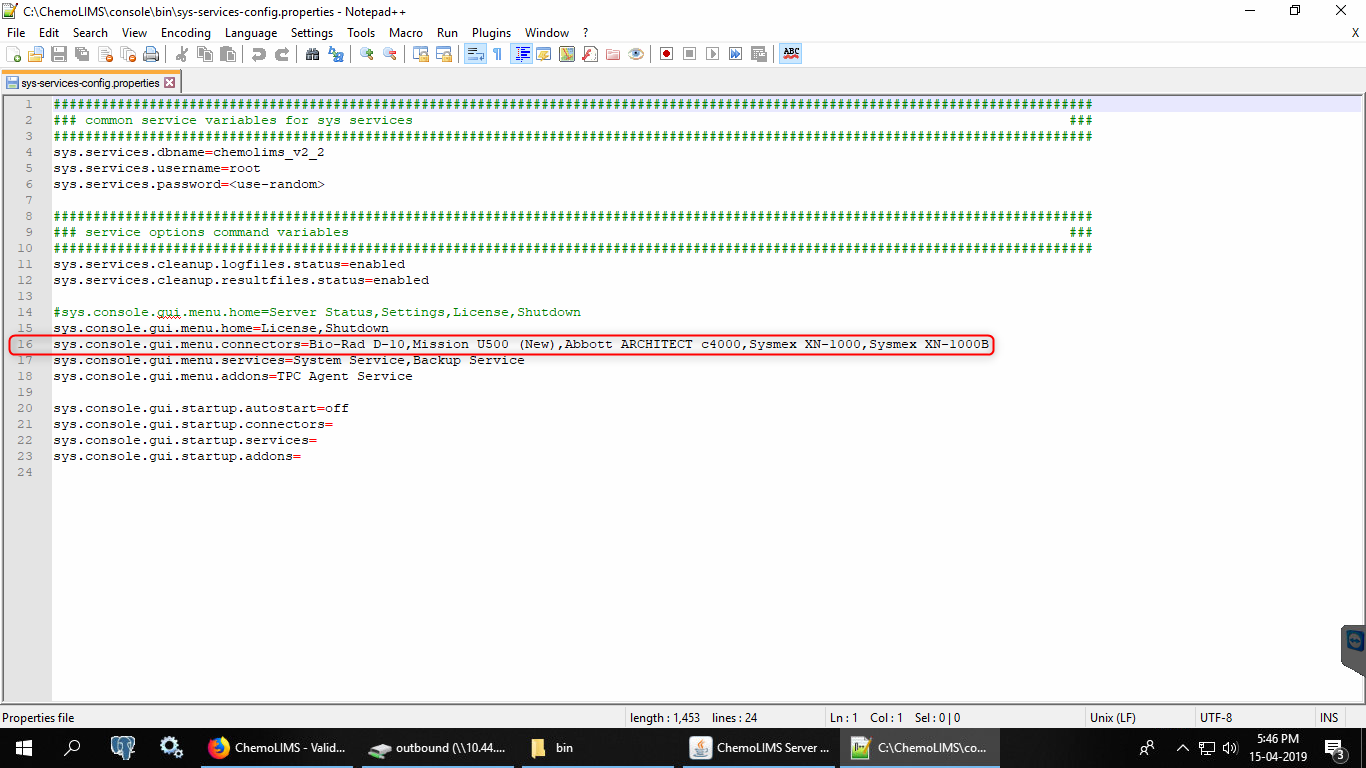
- Lastly, double click the recreate_executeble inside C: > Chemolims > console > bin
Mapping
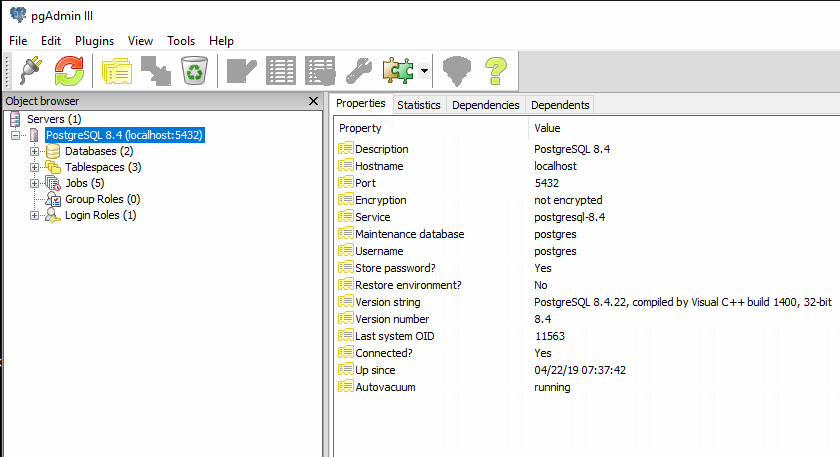
- Open pgAdmin III

- Once open pgAdmin, double click on PostgreSQL 8.4 as below
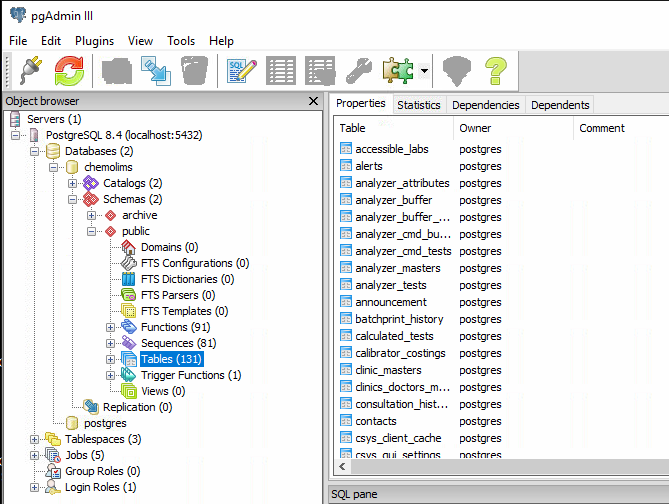
- Then double click on the Databases as below

- Then double click on chemolims as below

- Then double click on Schemas as below

- Then double click on public as below

- Then double click on Tables as below
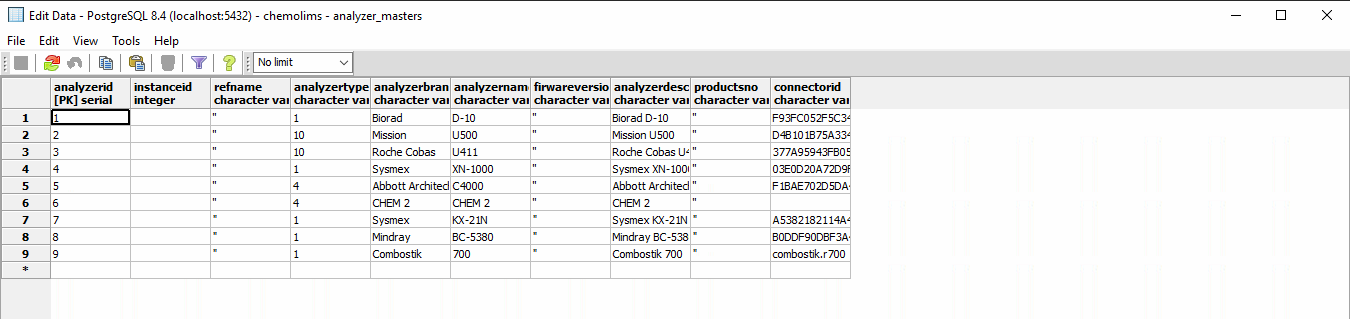
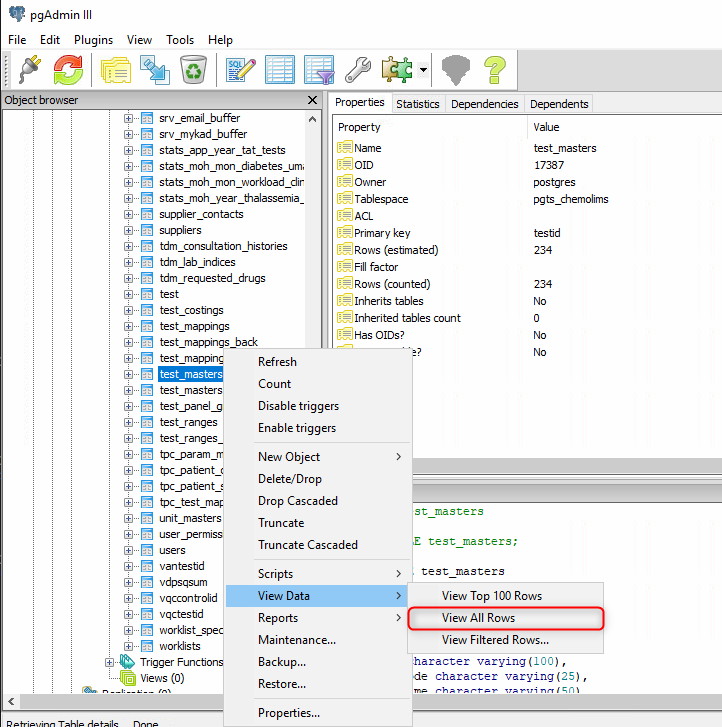
- Then find a table name analyzer_masters. Right-click and select View Data > View All Row

- Check either the instrument for Olympus AU480 is already in the table or not.
- If Yes, can proceed to the next step.
- If No, add all details at the * row and click save.
- Then find a table name analyzer_test. Right-click and select View Data > View All Row
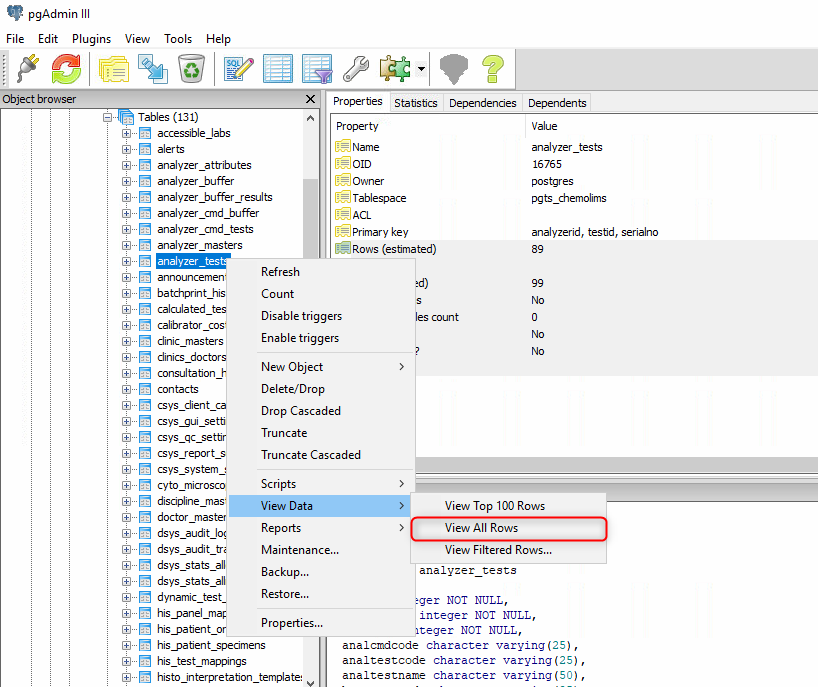
- Check either the test for Olympus AU480 is already in the table or not.
- If Yes, can proceed to the next step.
- If No, Then find a table name test_masters. Right-click and select View Data > View All Row
- Scroll down and find the test name from the list and copy the details and paste in the analyzer_test table.

- Please make sure to paste at the correct column and the analyzerid column must be similar to the analyzer_masters table.
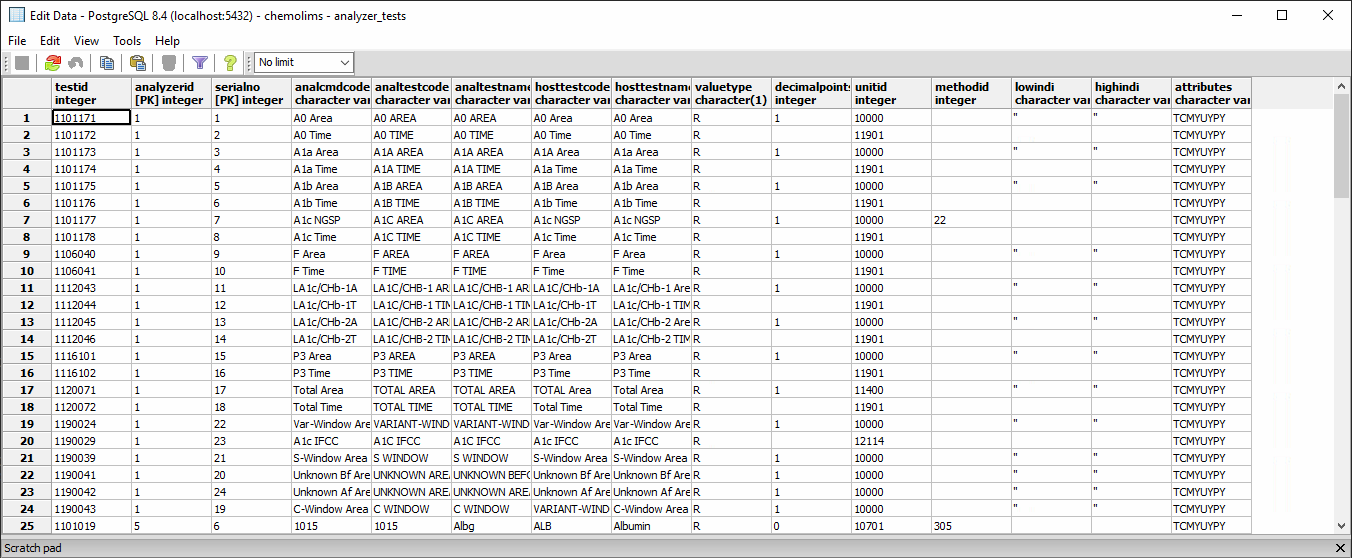
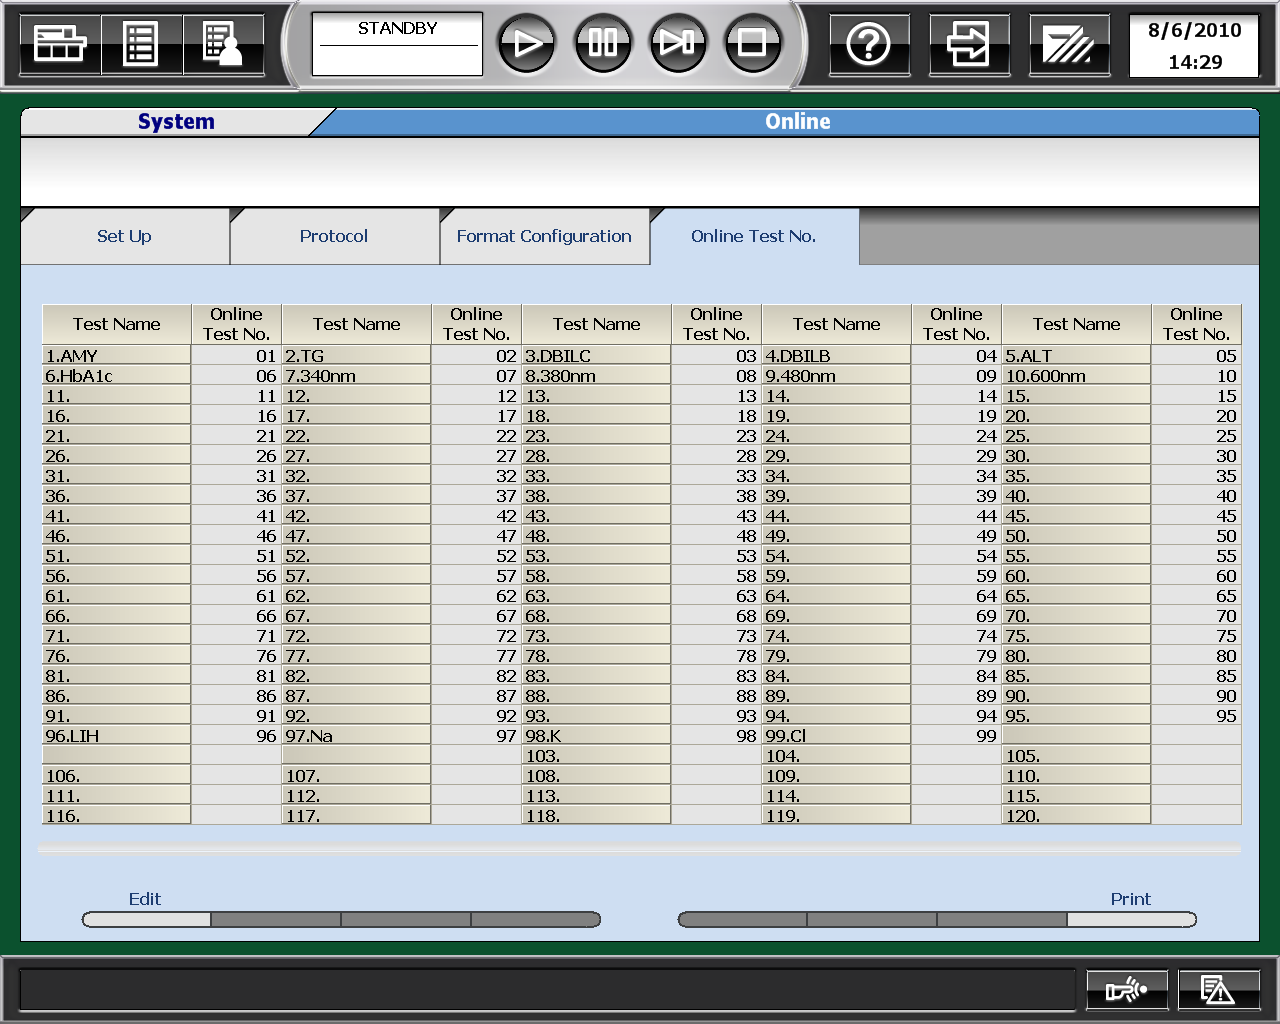
- For analcmdcode and analtestcode column, need to get the details from the machine itself.
- Go to Menu List > System > Online > Online Test No
Configuration
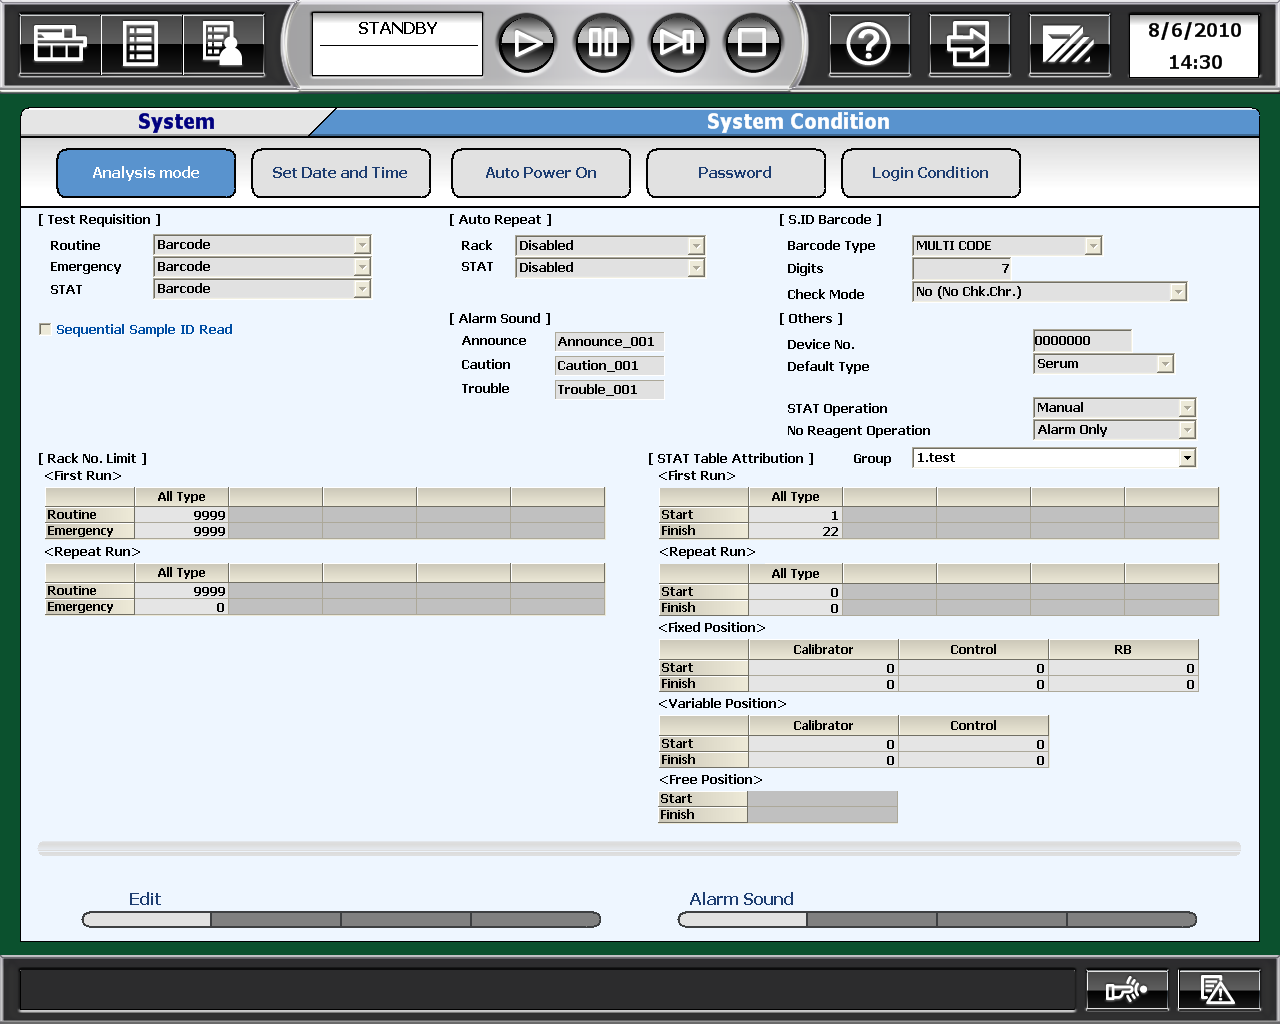
- First go to Menu List > System > System Condition > Analysis Mode
- Click Edit on the bottom left and change the setting to be exactly the same as in the picture.
- For [S.ID Barcode], digits will depend on how many barcode numbers used by the user.
- Then Save.
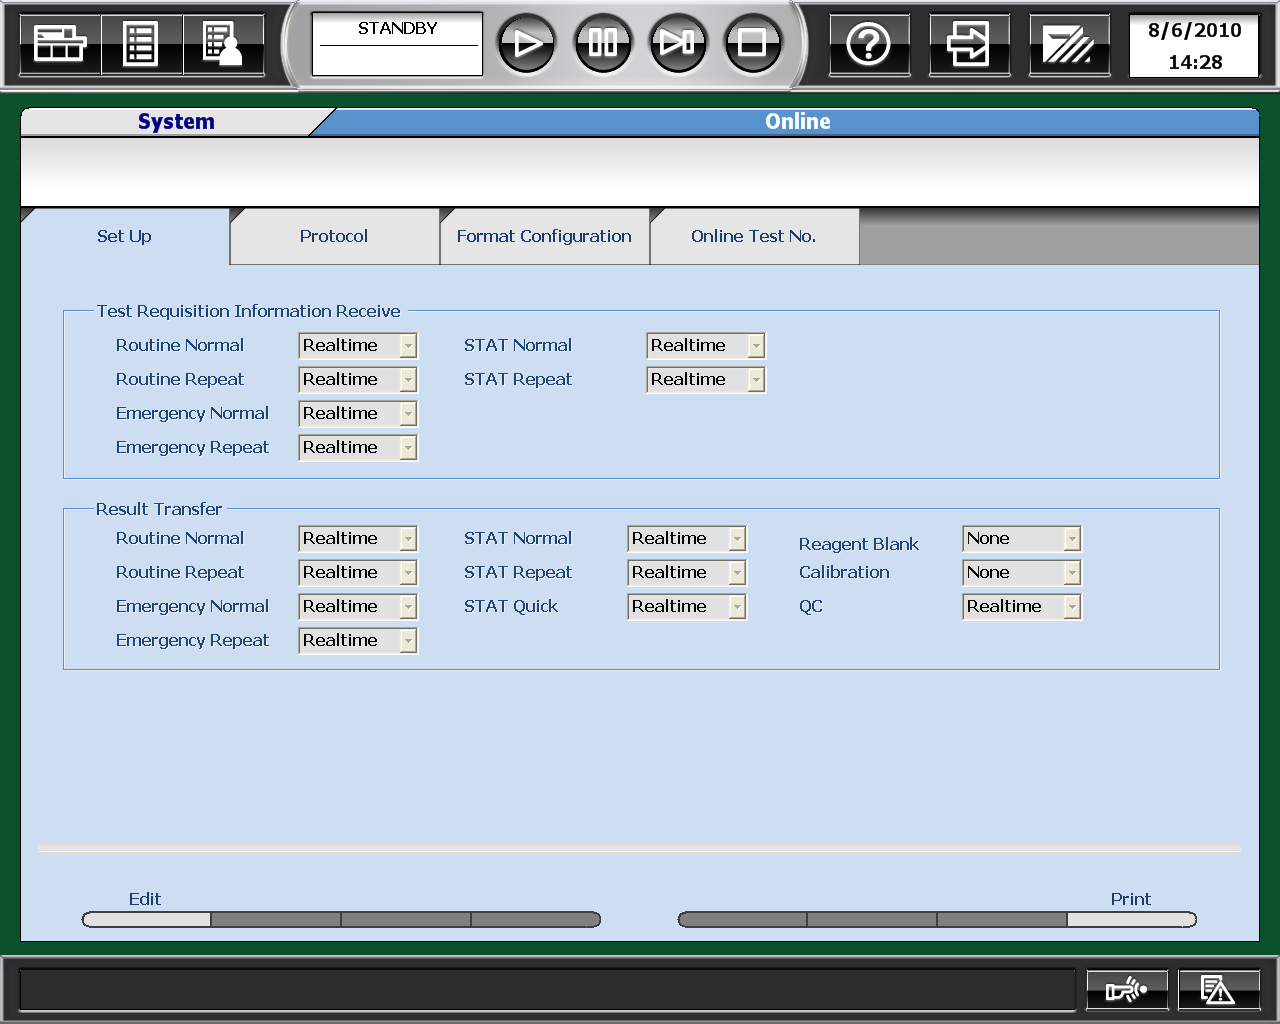
- Then go to Menu List > System > Online > Setup
- Click Edit on the bottom left and change the setting to be exactly the same as in the picture.
- Then Save.
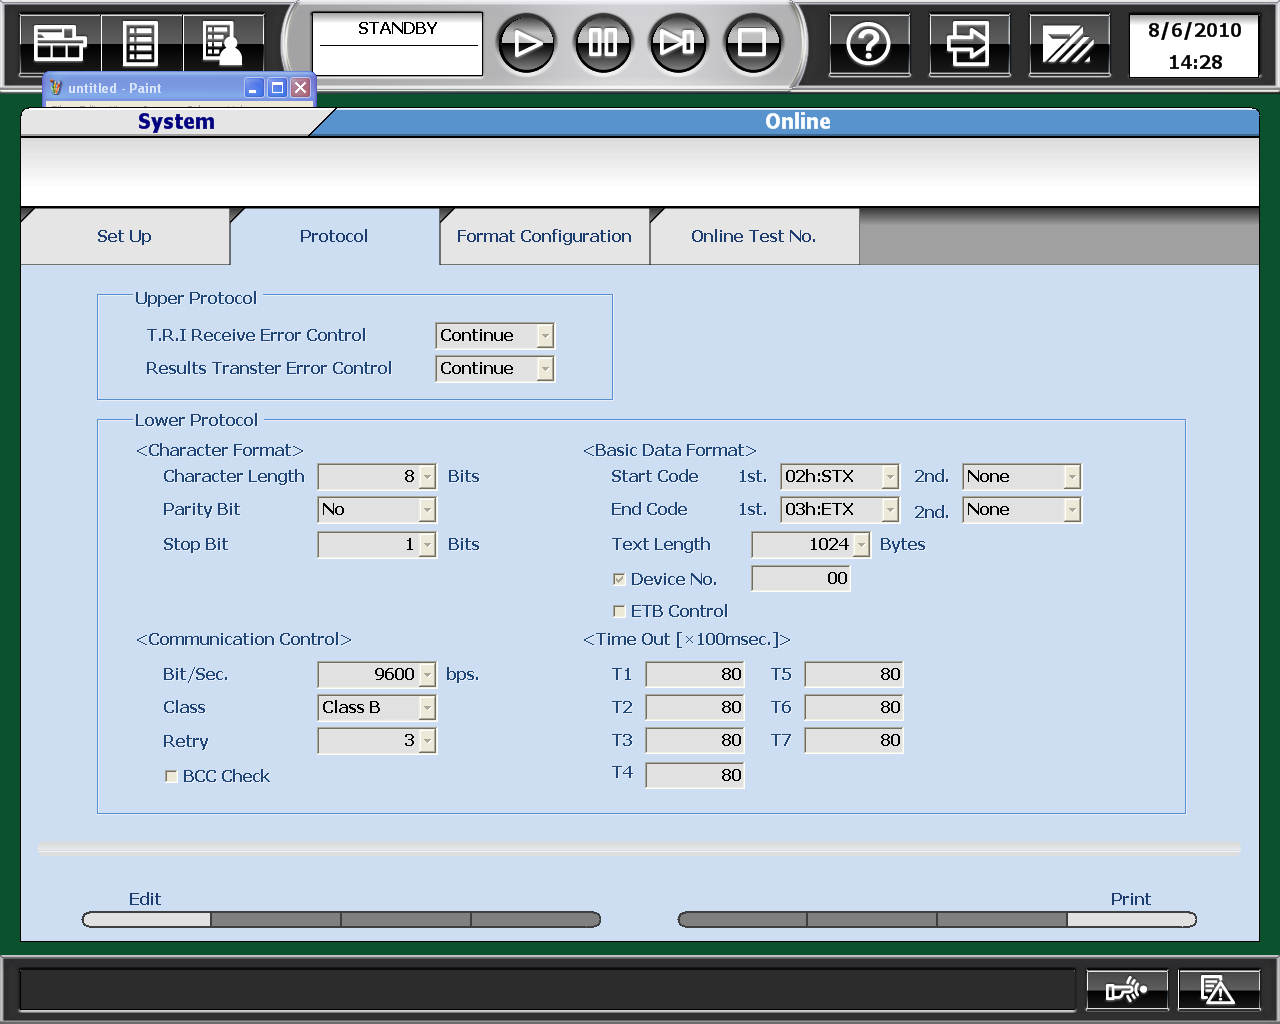
- Then go to Menu List > System > Online > Protocol
- Click Edit on the bottom left and change the setting to be exactly the same as in the picture.
- Then Save.
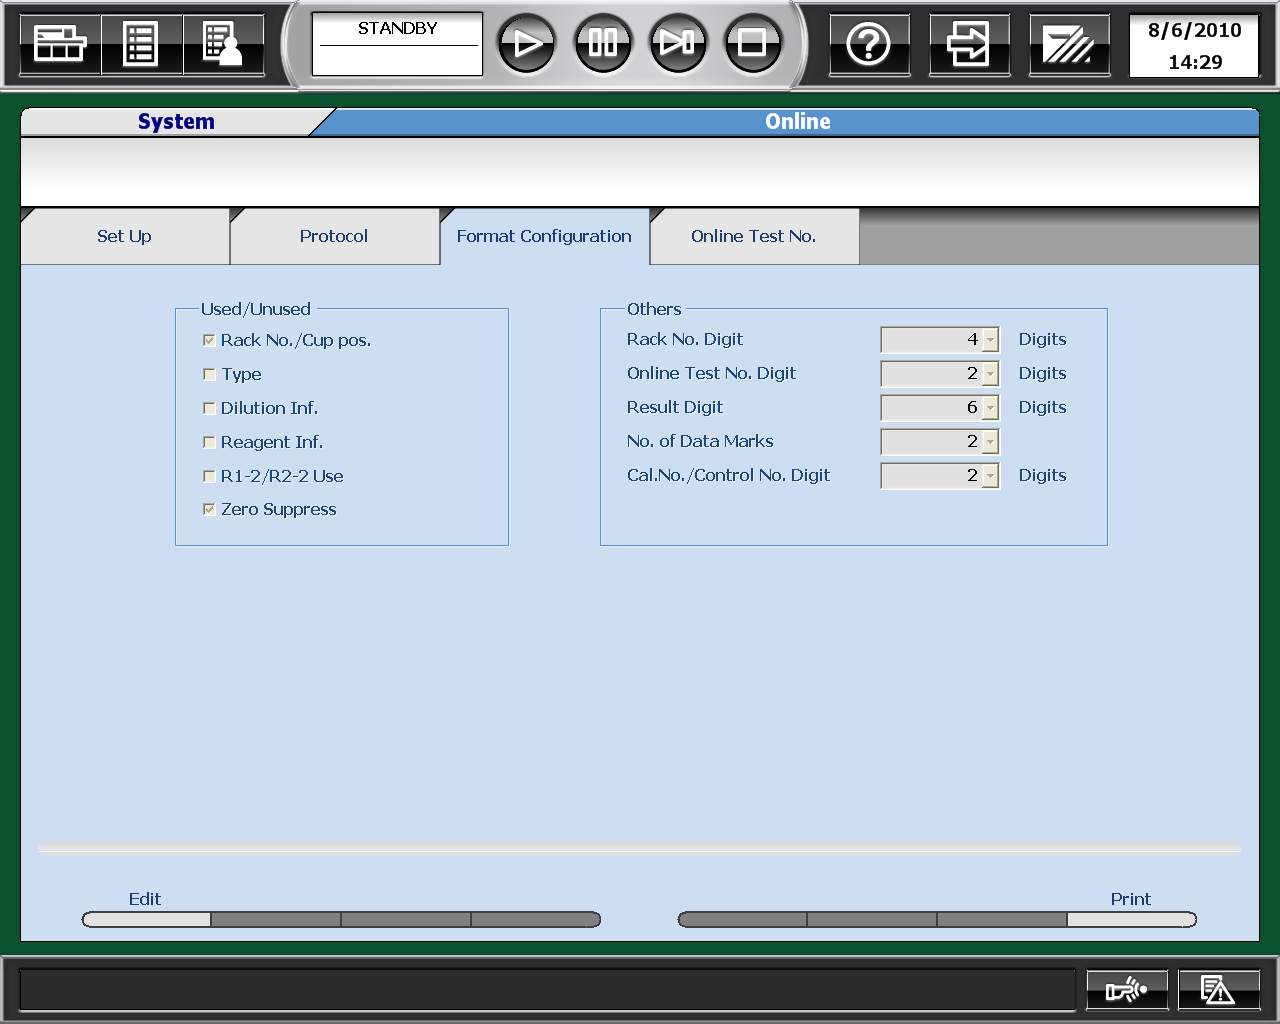
- Then go to Menu List > System > Online > Format Configuration
- Click Edit on the bottom left and change the setting to be exactly the same as in the picture.
- Then Save.
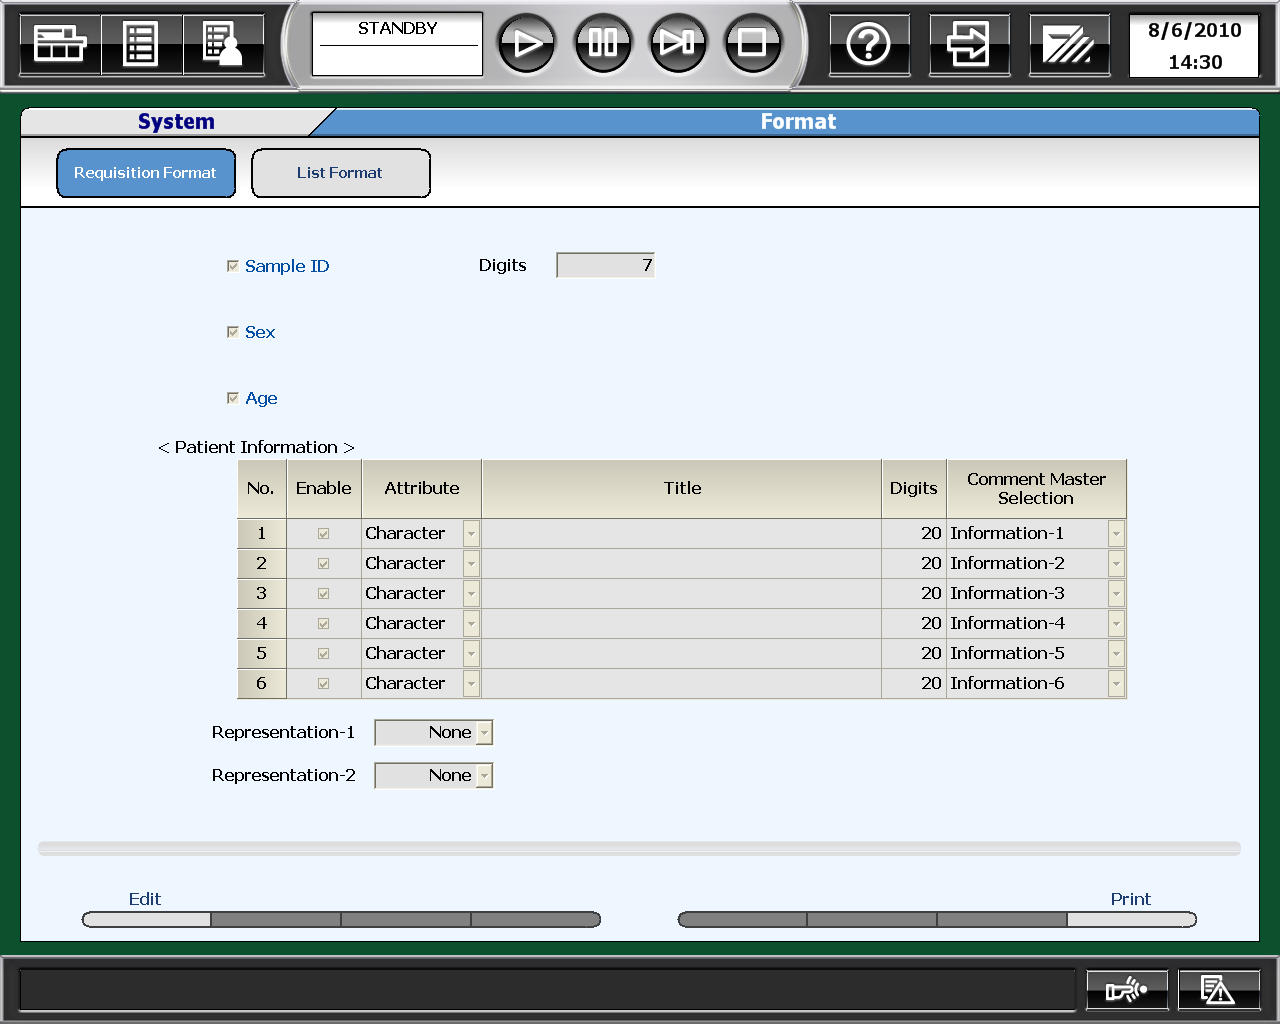
- Then go to Menu List > System > Online > Setup
- Click Edit on the bottom left and change the setting to be exactly the same as in the picture.
- For Sample ID, digits will depend on how many barcode numbers used by the user.
- Then Save.
Test Database
- Start ChemoLIMS Server Console
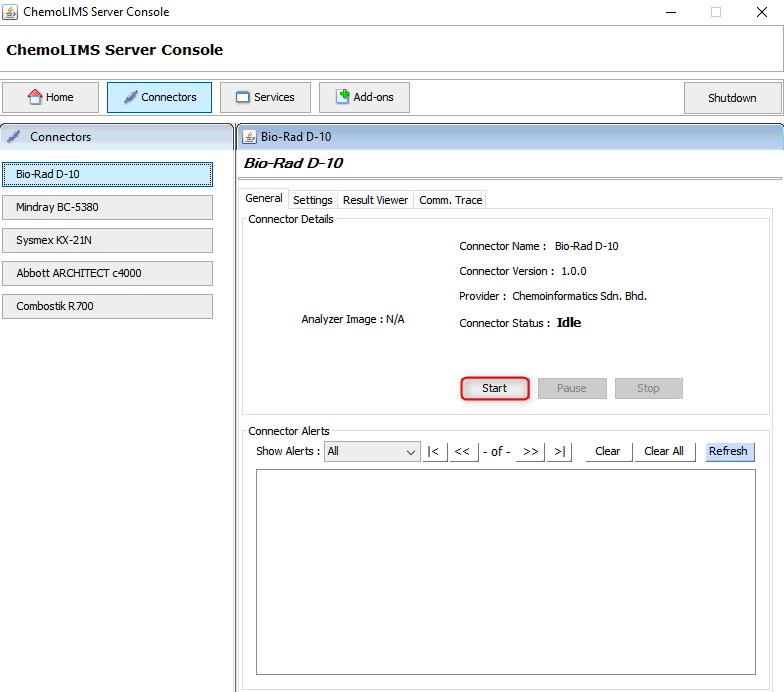
- Wait until the Connector Status change to Running.
(Remarks: Update test database)