Sato Barcode Printer – CG4 Series
- Follow the instruction as in the CG4 Operator Manual in order to install ribbon and sticker
- Make sure two full stickers is fully out from the printer
- Install Printer Driver by using USB Cable / Sato Driver CD
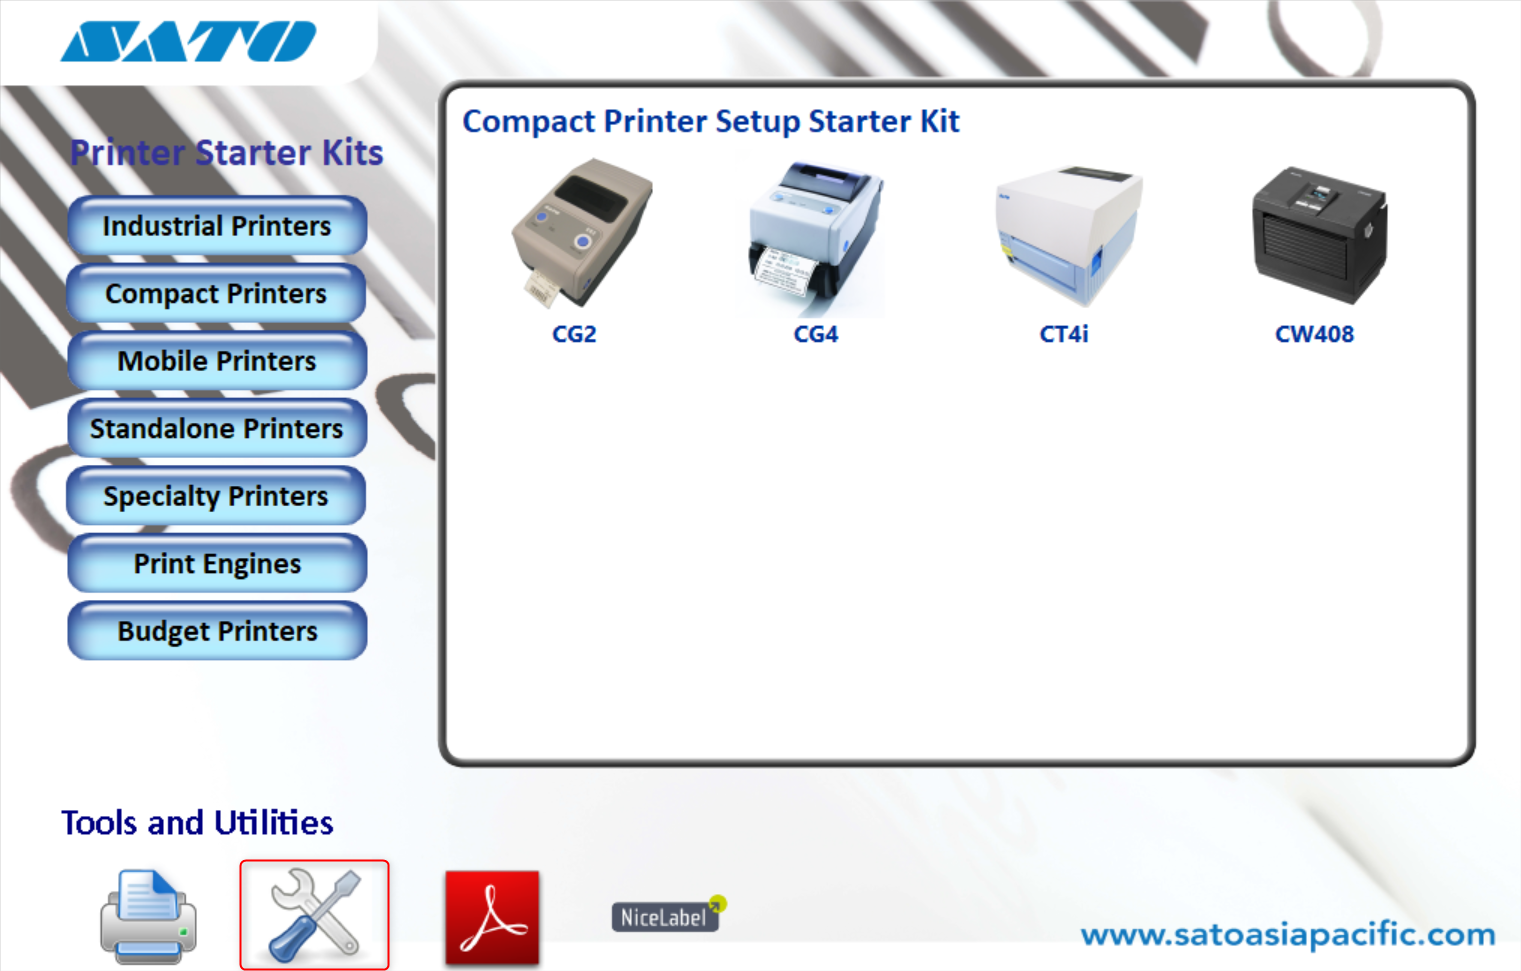
- Install Sato All-in-One application
- Connect the barcode printer with the computer through USB cable
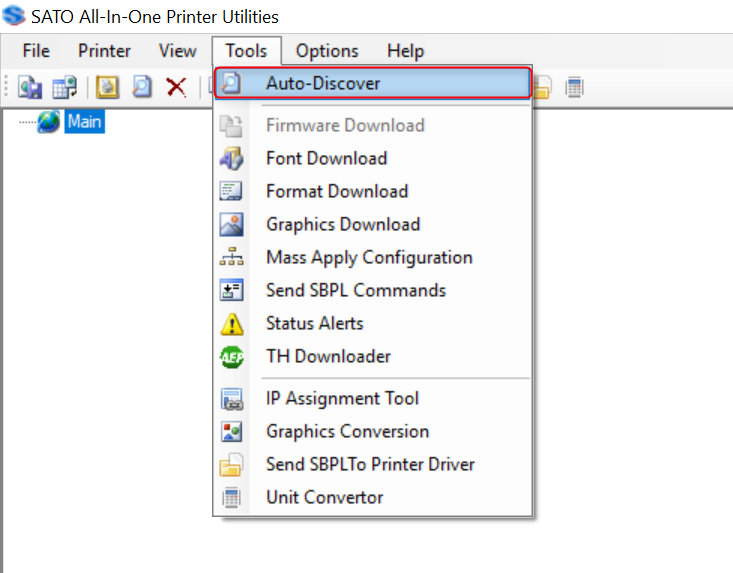
- Select Tools > Auto Discover to detect the barcode printer
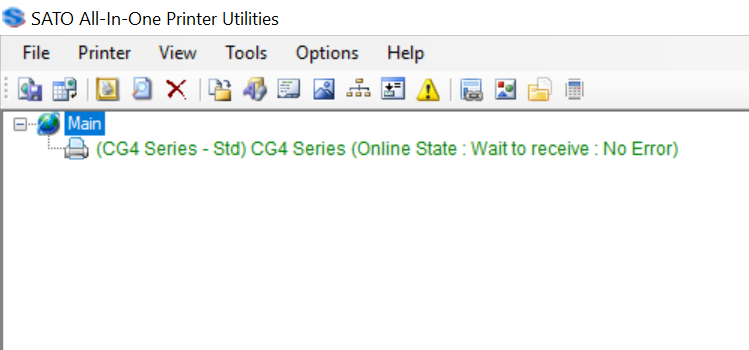
- The software will detect the printer that is connected
- Highlight the printer and select the Interface Configuration on the right menu.

- Select the LAN Tab on the top menu to do the configuration

- IP Address Setting must be select at Manual Setting and then click ‘Set’ Button

- Set IP Address, Subnet Mask and Default Gateway and then click ‘Set’ Button

- The IP Address can get from the printer
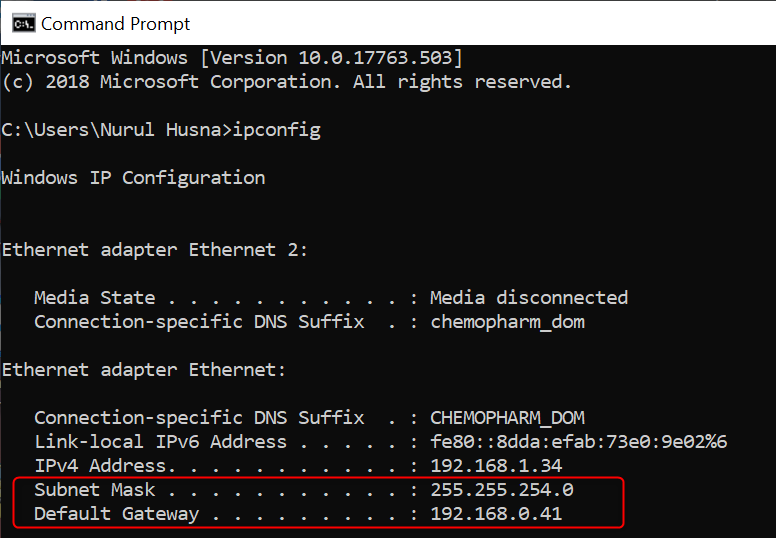
- The Subnet Mask and Default Gateway can get from the client pc by open Command Prompt and type ipconfig
- Enable RARP Setting and then click ‘Set’ Button

- Set the LAN Mode as Protocol for Driver (STATUS4)/ENQ response and then click ‘Set’ Button

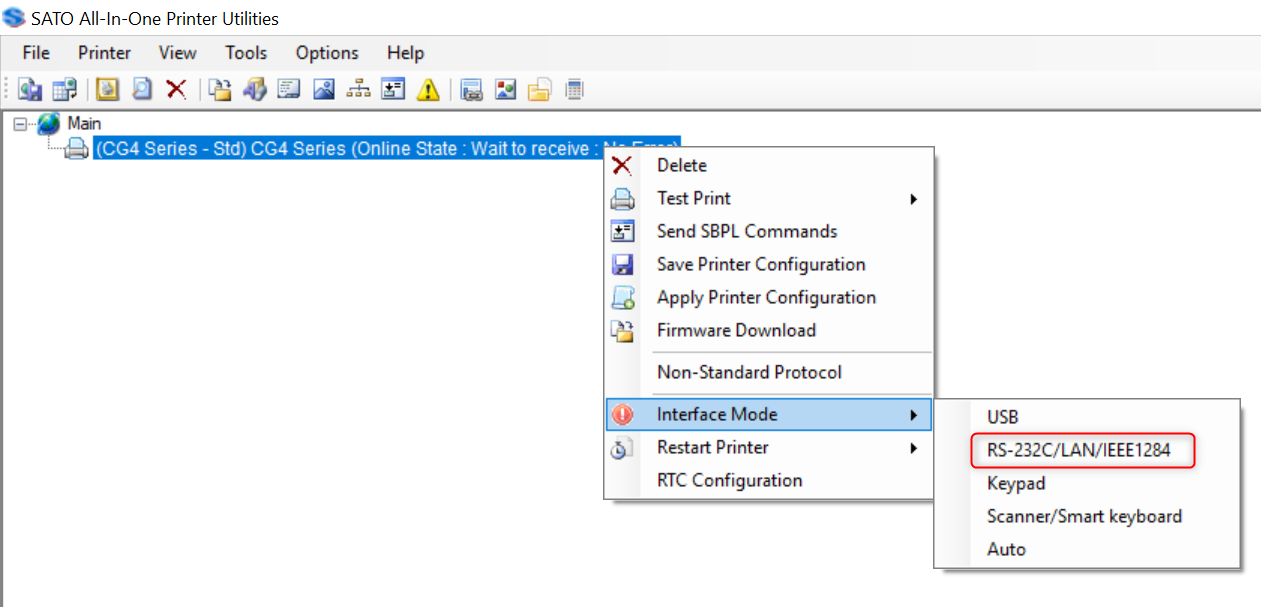
- Right click on the Barcode Printer
- Mouseover to Interface Mode and select RS-232C/LAN/IEEE1284
- Next, turn off the printer and close the application.
- Remove the USB cable and plug in the network cable from the network port.
- Switch On the barcode printer and wait for 1 minute.
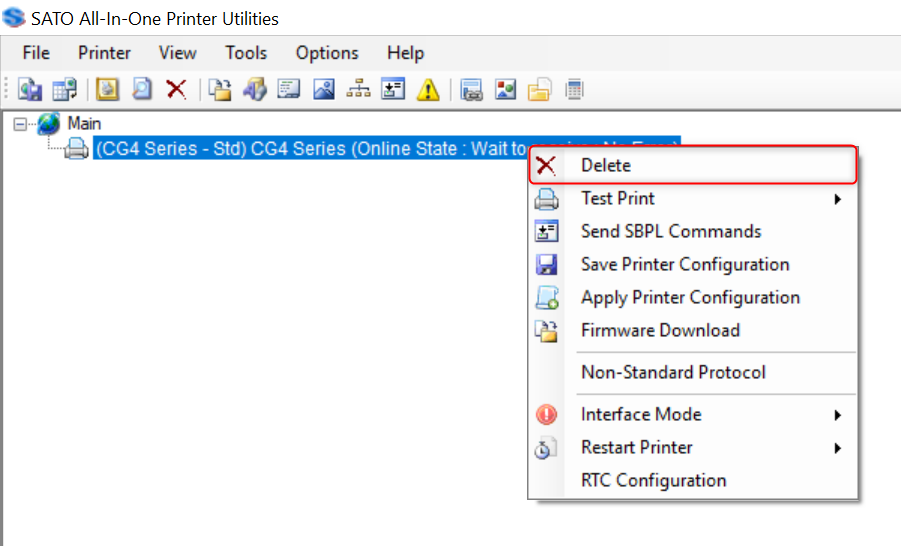
- Open Sato All-in-One application and remove the previous printer.
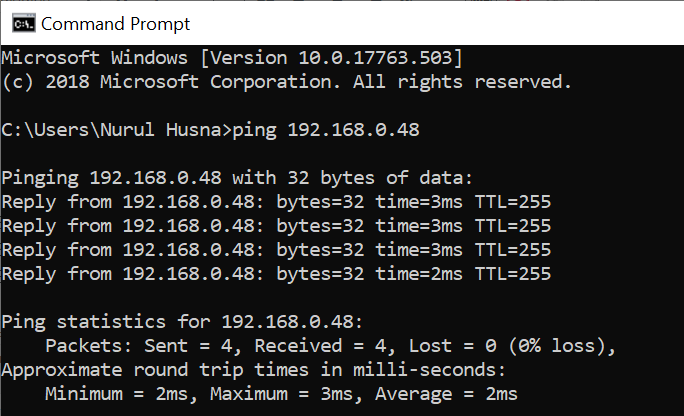
- Open Command Prompt and type ping [IP Address]
- Select Tools > Auto Discover to detect the barcode printer
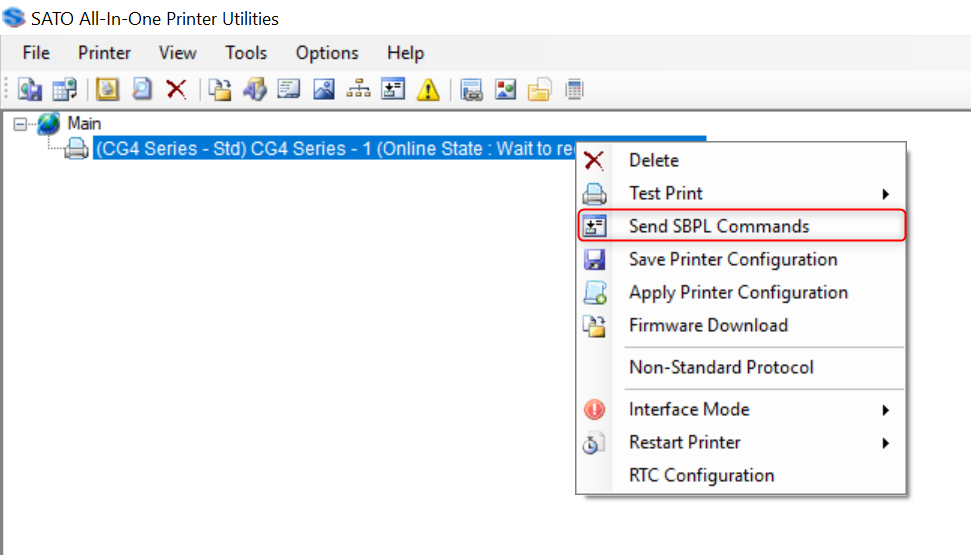
- The new printer display with ‘Online State: Wait to Receive: No Error”.
Test File
- Right click on the barcode printer and select Send SBPL Command
- Open command text Barcode Command Text
- Copy and paste the command text and then select Send
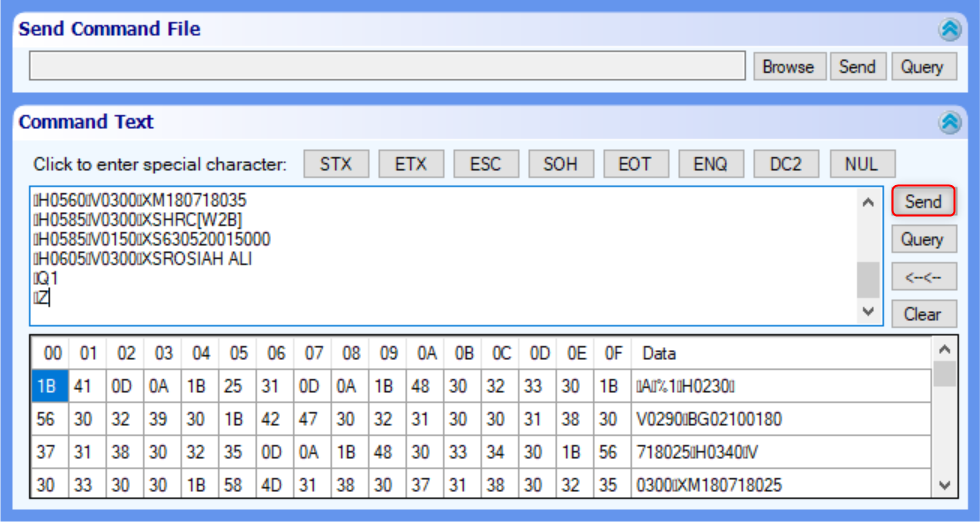
- If the barcode is printing, it is SUCCESS
- If the barcode is not printing, please check again starting from step 12
Total 0 Votes:
0
0