Mindray BC30S


The new line of 3-part hematology analyzers is the culmination of that effort. Compact yet powerful, full featured yet affordable, the BC-30s is what a 3-part analyzer should be.
Copy Files
- There are 3 files need to be copied and replace.
- License File
- SMC Files
- Plugin Files
- Firstly, stop all these services.
- Server Console (only when updating sys-services-config.properties file)
- Paste the created license into 5 different folder
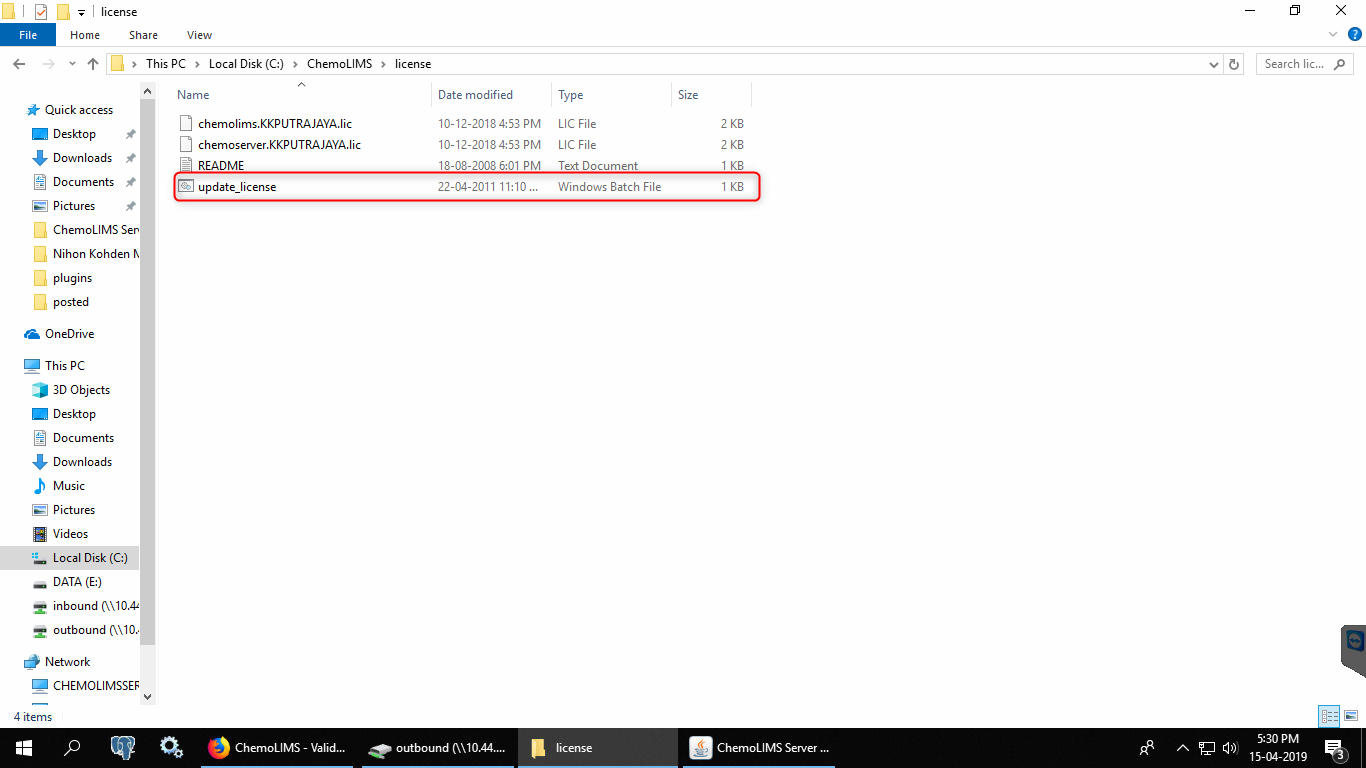
- My Computer > C: > Chemolims > License
- My Computer > C: > Chemolims > server > minimal > license
- My Computer > C: > Chemolims > console > license
- My Computer > C: > Windows > Syswow64 > license
- My Computer > C: > Windows > System32 > license
- Go to My Computer > C: > Chemolims > License and double click on update_license.
- Next, open Chemolims > console > bin > plugins
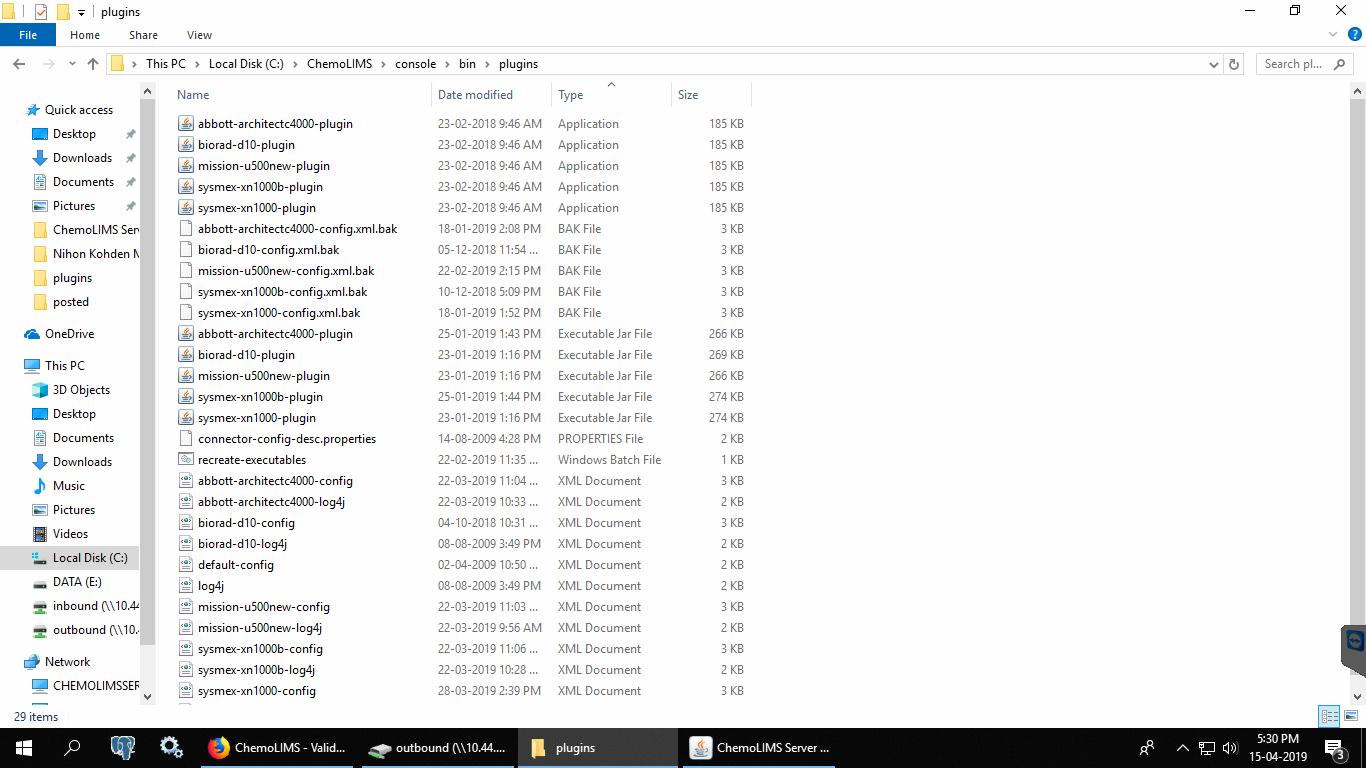
- Replace .jar files for the old connector
- Paste .jar file for the new connector
- Copy the existing .config and .log4j files inside C:/ChemoLIMS/console/bin/plugins
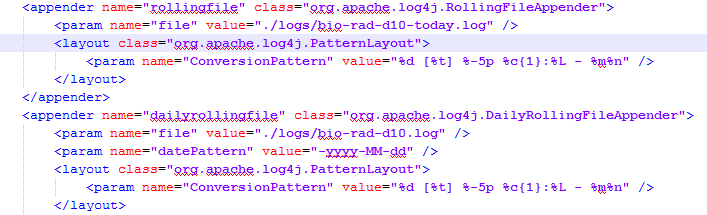
- Then, right click on bio-rad-d10-config and select edit with notepad ++.
- Make sure to change from bio-rad-d10 to mindray-bc30s and then Save.

- Then, right click on bio-rad-d10-logj4 and select edit with notepad++.
- Make sure to change from bio-rad-d10 to mindray-bc30s and then Save.
- Then, right click on recreate_executable and select edit with notepad++
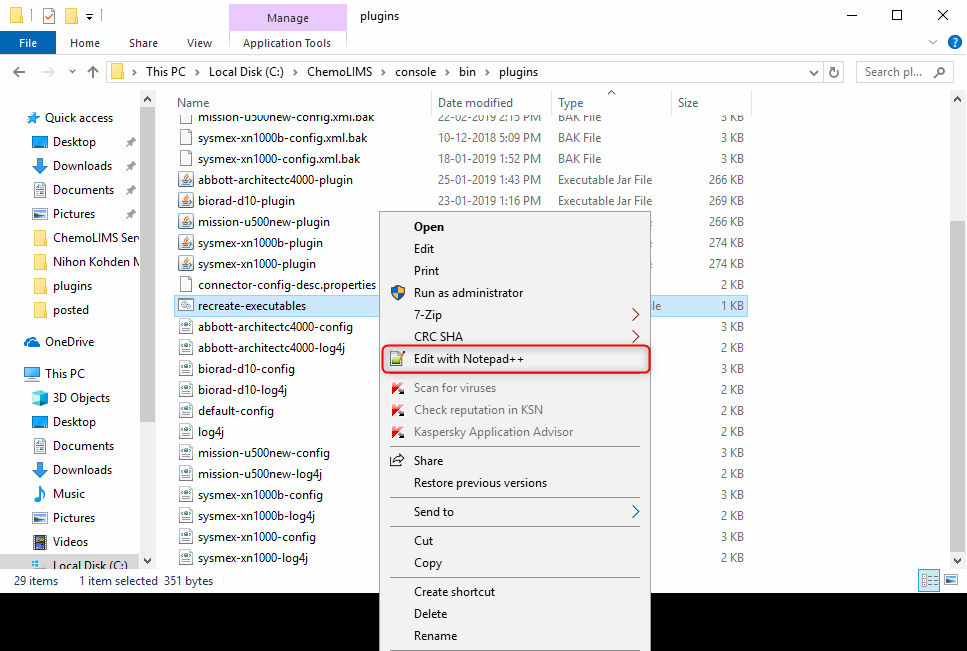
- Add the new connector mindray-bc30s-plugin .exe file name and save. (Remark: Analyzer name should be exactly the same with the name inside the excel file)
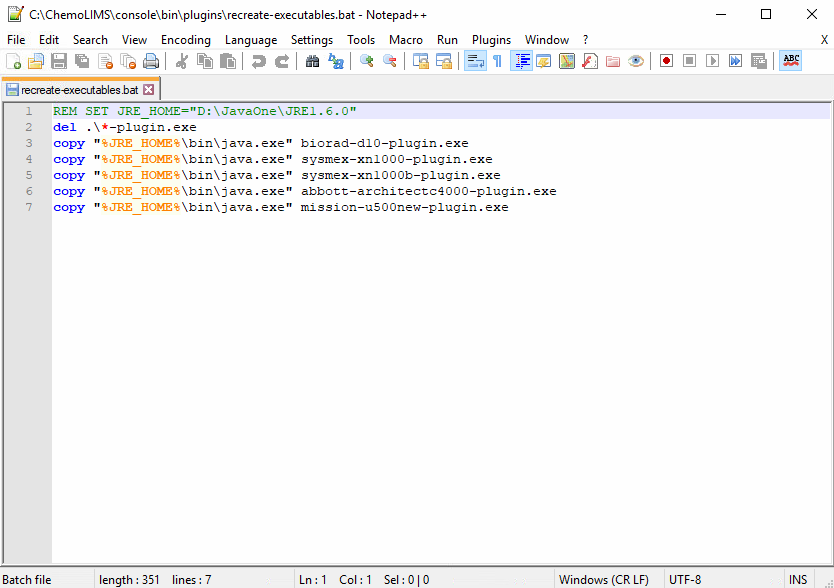
- Then double click on the recreate_executable.
- There should have 4 files for instrument
- .exe
- .jar
- .log4j
- config
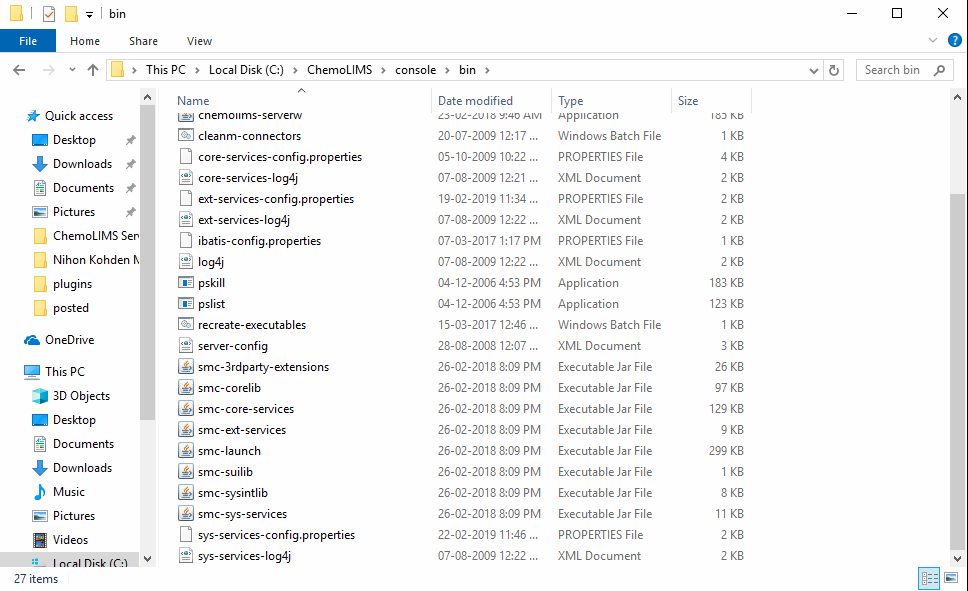
- Then copy 8 SMC files from Google Drive and paste inside C: > Chemolims > console > bin
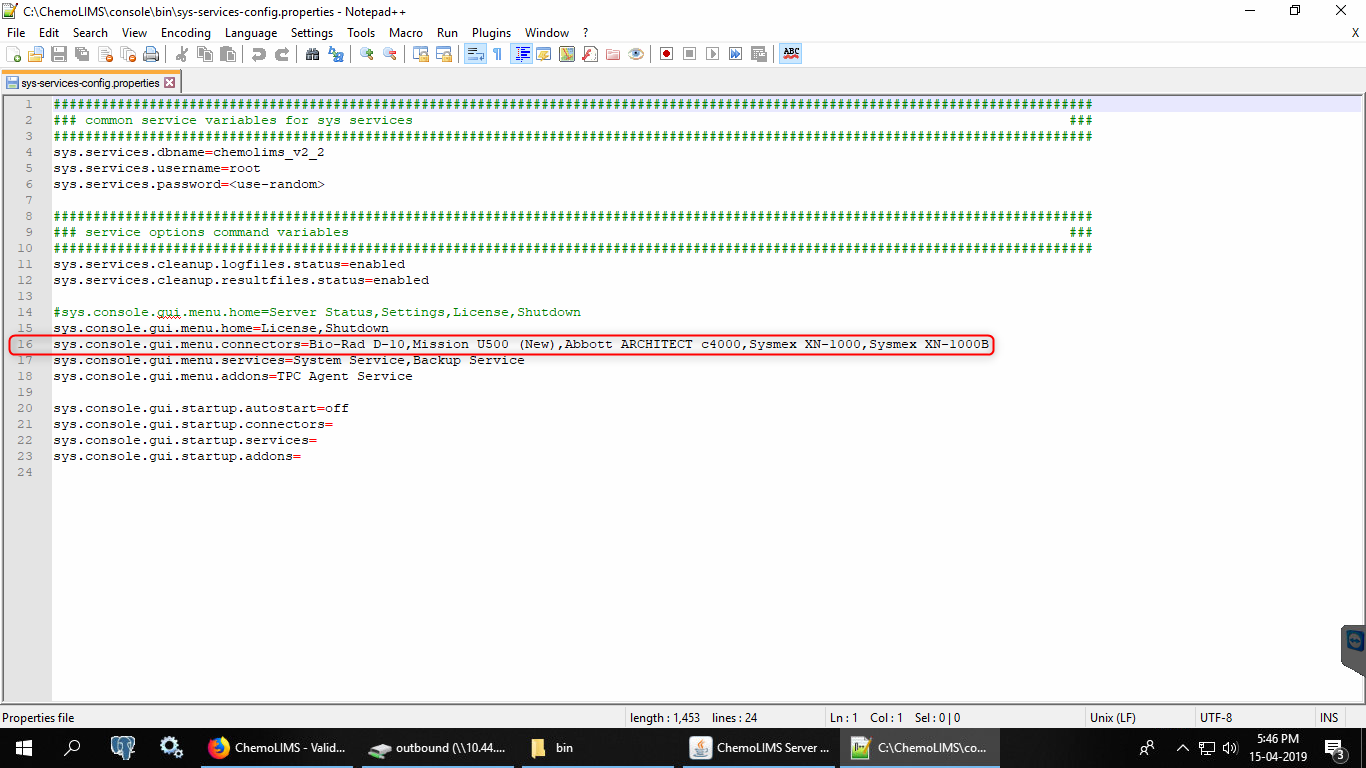
- Then right-click on sys-services-config.properties and select edit with notepad ++
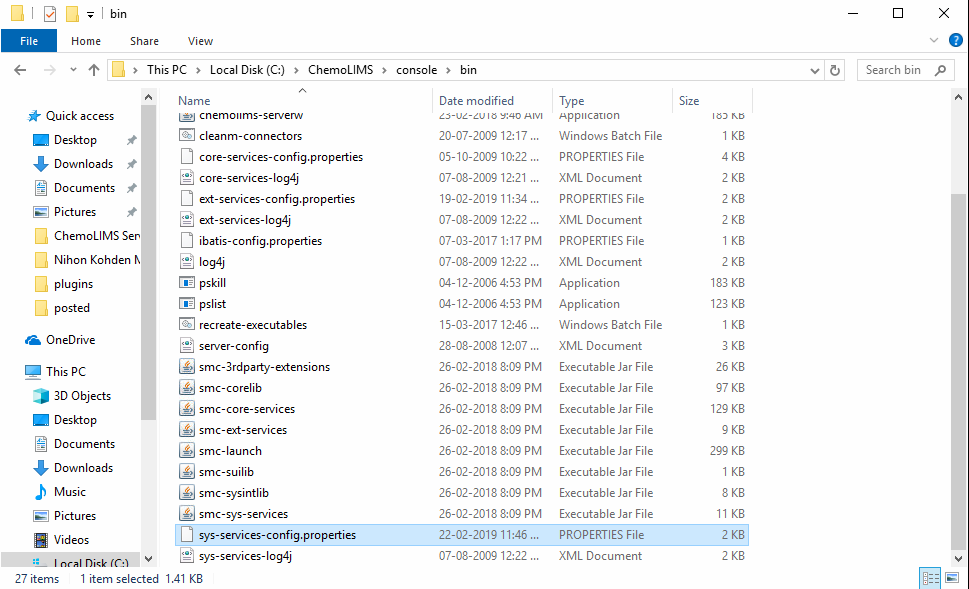
- Add Mindray BC-30S and then save. (Remark: Analyzer name should be exactly the same with the name inside the excel file)
- Lastly, double click the recreate_executeble inside C: > Chemolims > console > bin
Mapping
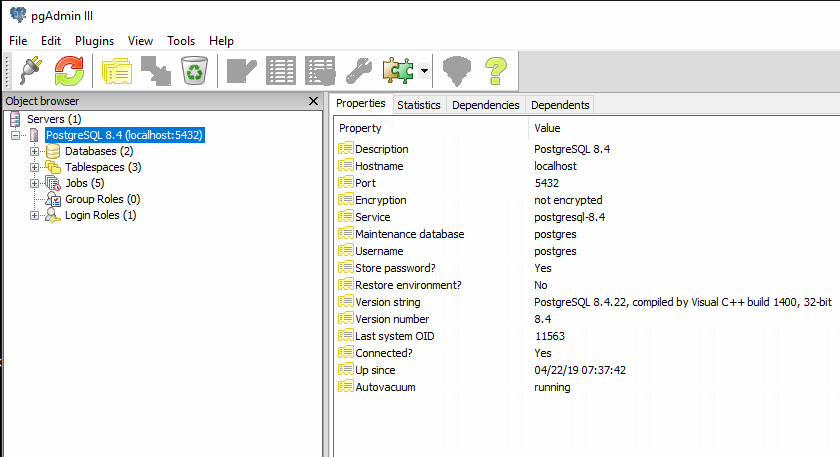
- Open pgAdmin III

- Once open pgAdmin, double click on PostgreSQL 8.4 as below
- Then double click on the Databases as below

- Then double click on chemolims as below

- Then double click on Schemas as below

- Then double click on public as below

- Then double click on Tables as below
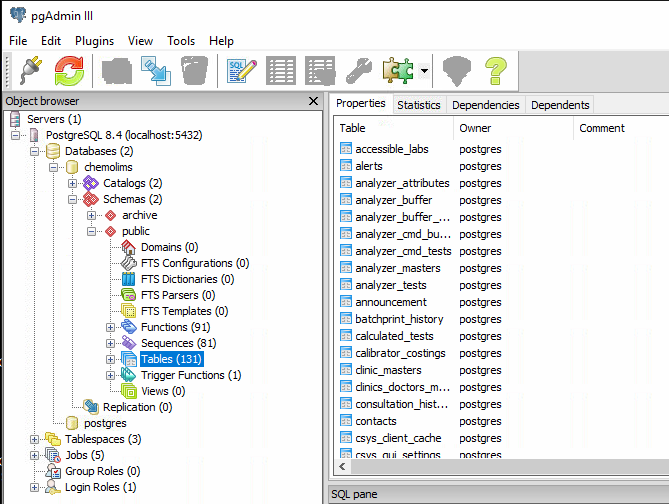
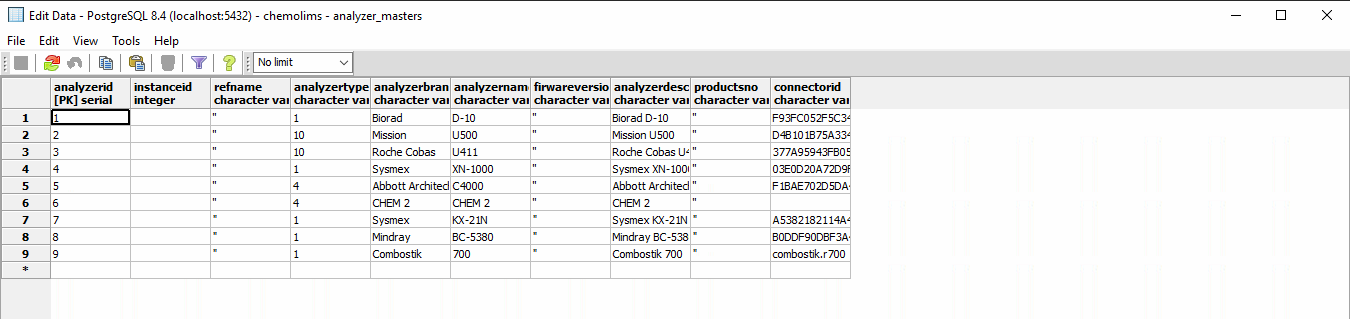
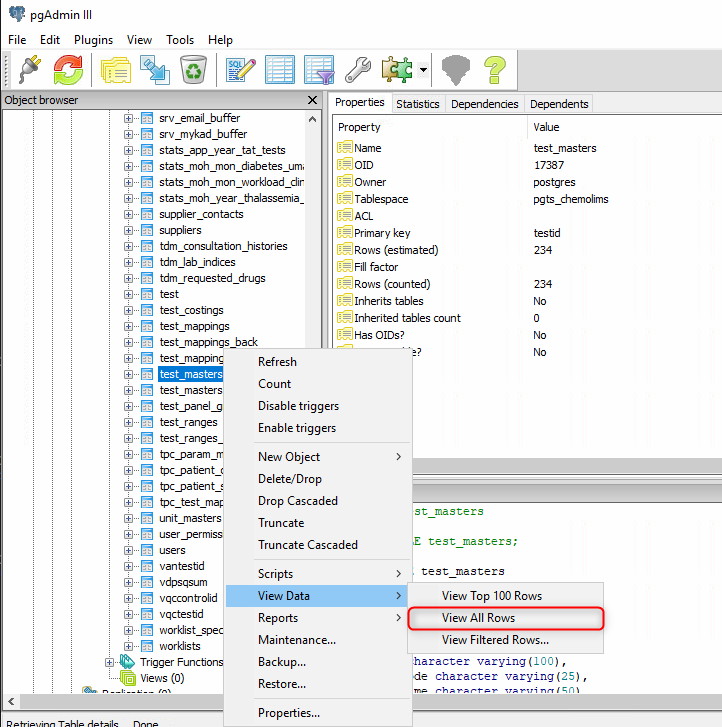
- Then find a table name analyzer_masters. Right-click and select View Data > View All Row

- Check either the instrument for Mindray BC-30S is already in the table or not.
- If Yes, can proceed to the next step.
- If No, add all details at the * row and click save.
- Then find a table name analyzer_test. Right-click and select View Data > View All Row
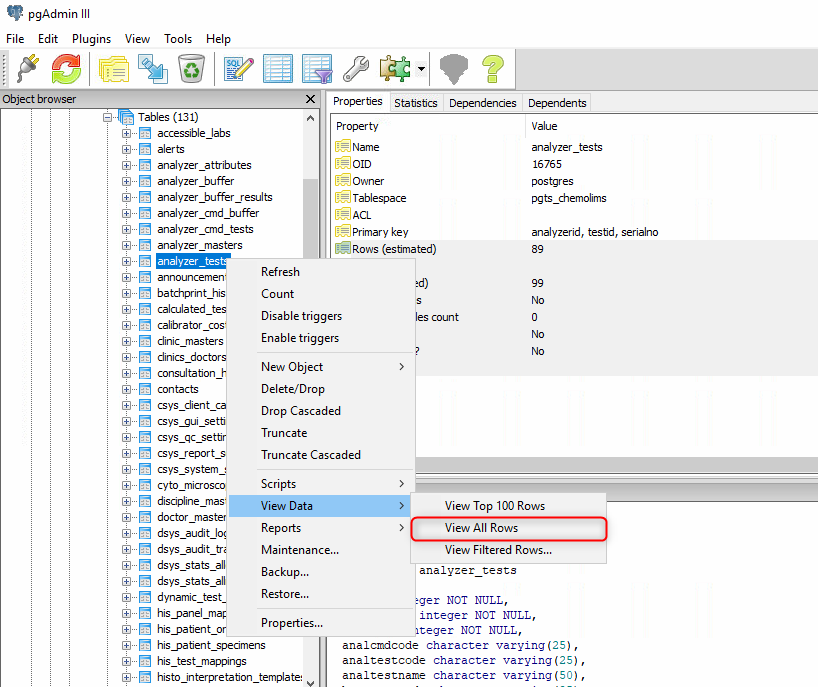
- Check either the test for Mindray BC-30S is already in the table or not.
- If Yes, can proceed to the next step.
- If No, Then find a table name test_masters. Right-click and select View Data > View All Row
- Scroll down and find the test name from the list and copy the details and paste in the analyzer_test table.

- Please make sure to paste at the correct column and the analyzerid column must be similar to the analyzer_masters table.
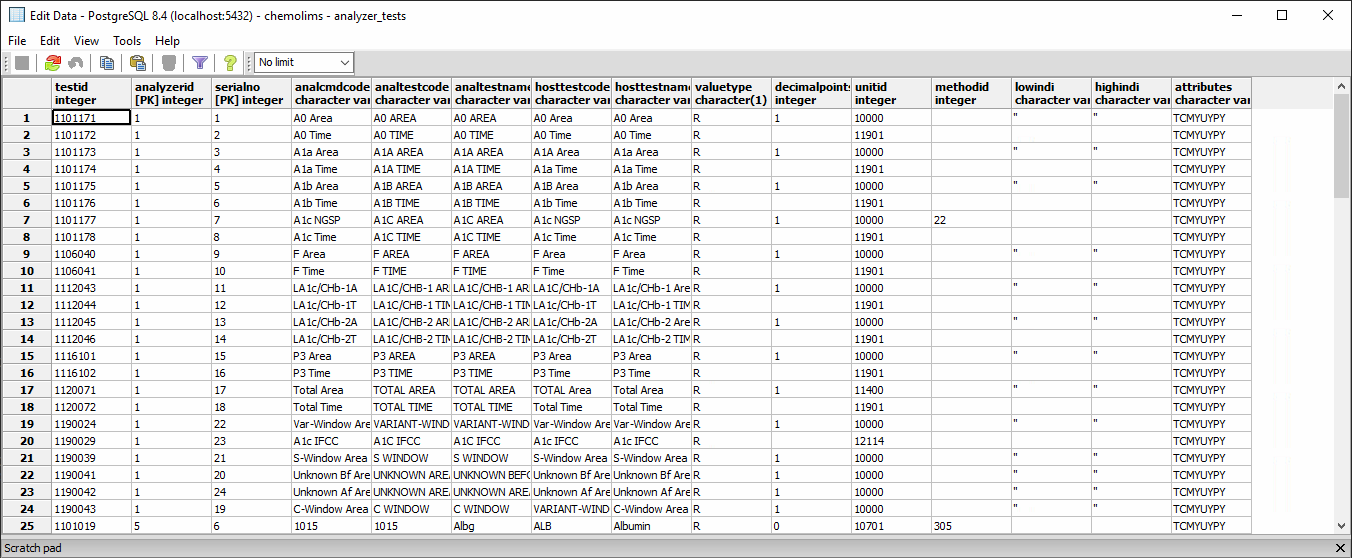
- For analcmdcode and analtestcode column, need to get the details from the machine itself.
Configuration
- Log in Mindray BC-30S
- ID: service
- Password: Se s700 (Remarks: The password really does have a blank space after the character e)
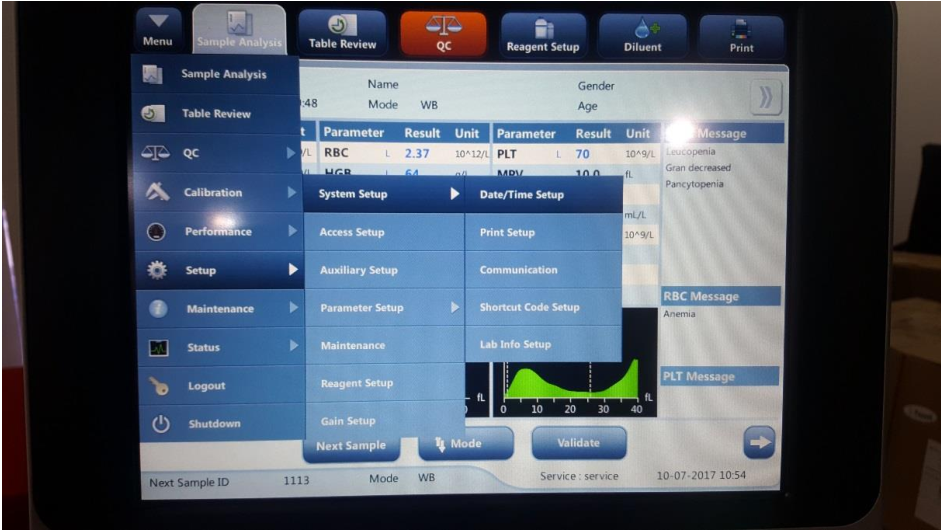
- Once logged into the system, the main screen will look like below

- Go to Menu(top left) > Setup > System Setup > Communication.
- Make sure that:
- Communication is set to Network port comm
- Network Device is set to Wired
- Protocol Setup will be set to any necessary IP Address and Subnet Mask.
- Default Gateway will be left empty and the Comm Protocol is HL7.
- Transmission Mode can ONLY have Auto Communicate checked.
- The rest MUST BE UNCHECKED. *Auto Communicate will automatically transfer the sample result when done.

Test Database
- Start ChemoLIMS Server Console
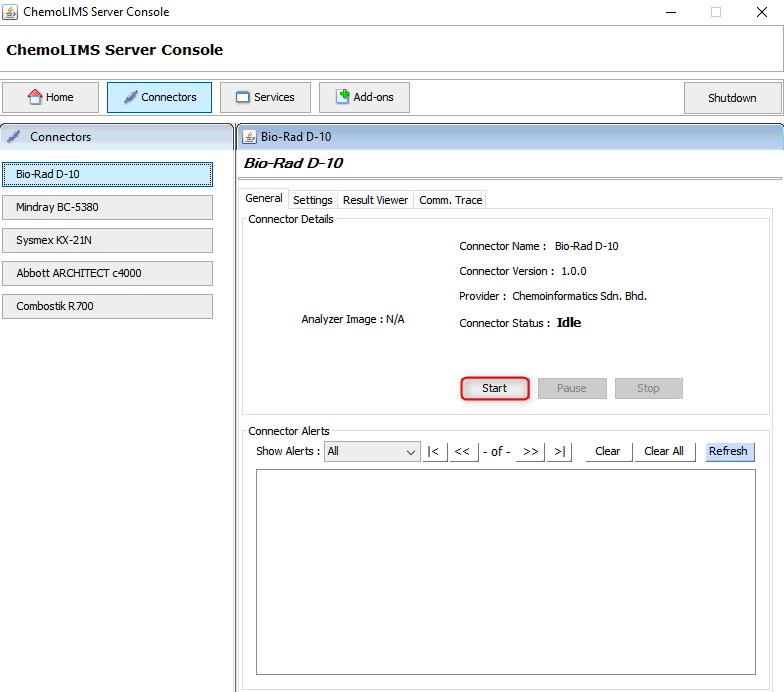
- Wait until the Connector Status change to Running.
- Go to Sample Analysis tab
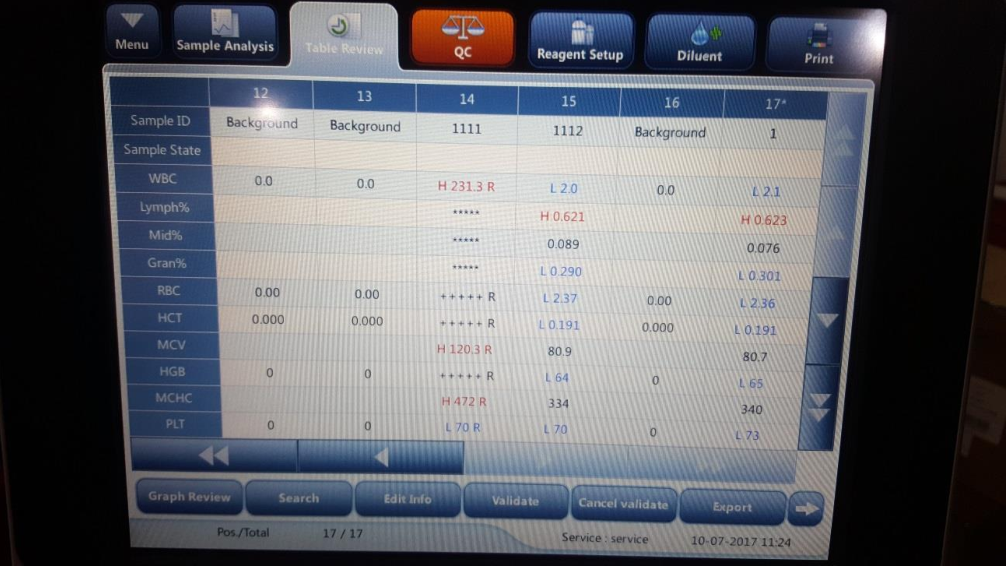
- Click on the screen and the selected column will be highlighted.
- Next, click on the right arrow button on the lower right. A new set of buttons will then appear.
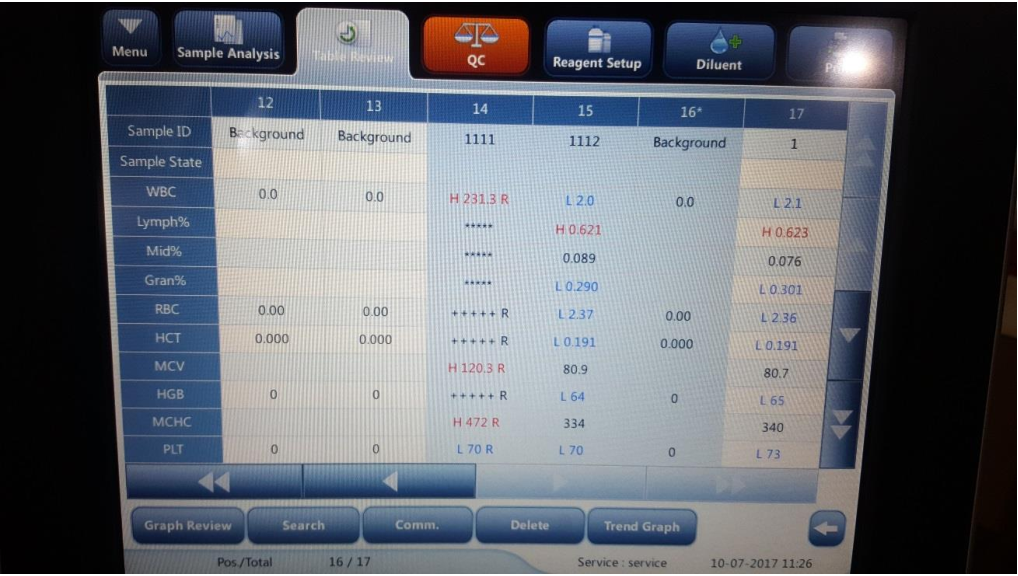
- Click on the Comm button to send the selected result(s).
- A popup then appears, providing an option to send only Selected or All of the result.
- Click OK to send the result
Total 0 Votes:
0
0